Auntie Tammy’s Pet Safe & Kid Safe DIY Ant Bait Traps
 While this is “not lead related” (“NLR” or “NPbR”) it is related to keeping kids (& pets) safe from environmental toxicity.
It seems like at some point everybody gets ants (at least in Massachusetts, California and Oregon (the three states where I have spent the most time)! I don’t remember ever having an ant problem when I was a student in New York City…there the problem was cockroaches! And when I studied in Paris the “pest du jour” was rats! Compared to those varmints, I think most folks would find sugar ants preferable — but they can still be unwelcome and annoying.
[I remember when I was a kid growing up in an early 1900s farmhouse-style home in Massachusetts I actually used to collect ants…I would put an old coffee can 1/2 full of dirt in my BEDROOM and put some jelly beans in the can and wait until it was full of ants! [That was where I got the ants I ended up using to make an ant farm for the 6th grade science fair — ants I had collected in my bedroom! Lol.]
When I became a parent (and was no longer interested in collecting ants, but rather getting rid of them!) I, like many folks, started looking for safer alternatives for my home and my family (most DIY sprays and pesticides used by professional services to get rid of ants are so toxic that no parent with any education about the issue these days would apply these in their home!) So what are we to do — be the ultimate hippies and just learn to “be one with the ants” living in our homes?
Well if “being one with the ants” is not an option for you — my husband, who grew up in the suburbs, considers ants an unwelcome/unsettling pest, but I don’t really care, as long as they aren’t actually getting into my food [at such times he calls me “Ellie-Mae” (the backwoods girl from the 70’s TV show, The Beverly Hillbillies, who loved to keep assorted “critters”!)] — I have the perfect safer solution for getting rid of the ants in your home…
This solution is safer for several reasons, the main reason being that it is not a poisonous spray that is spread all over your home and yard, but rather a food-based poison that kills the ants where they live, in their nest. This solution is also a safer choice because it is a good way to create a DIY ant trap that is 99% inaccessible to babies and pets. [NOTE: If your kiddo can open a jar easily you want to make sure to put the final trap in an inaccessible location.] After a month or two, the jar lid will most likely rust shut, making it difficult for anyone to open – especially a baby!
#Bonus: It’s a plastic-free solution too! You’re not wasting money on a bunch of fancy packaging, marketing materials and little plastic traps, traps which – in my opinion – really look like cookies to babies so also aren’t a good choice for that reason!
While you might have seen similar recipes for DIY ant bait traps, MINE has a secret ingredient!! Read on….
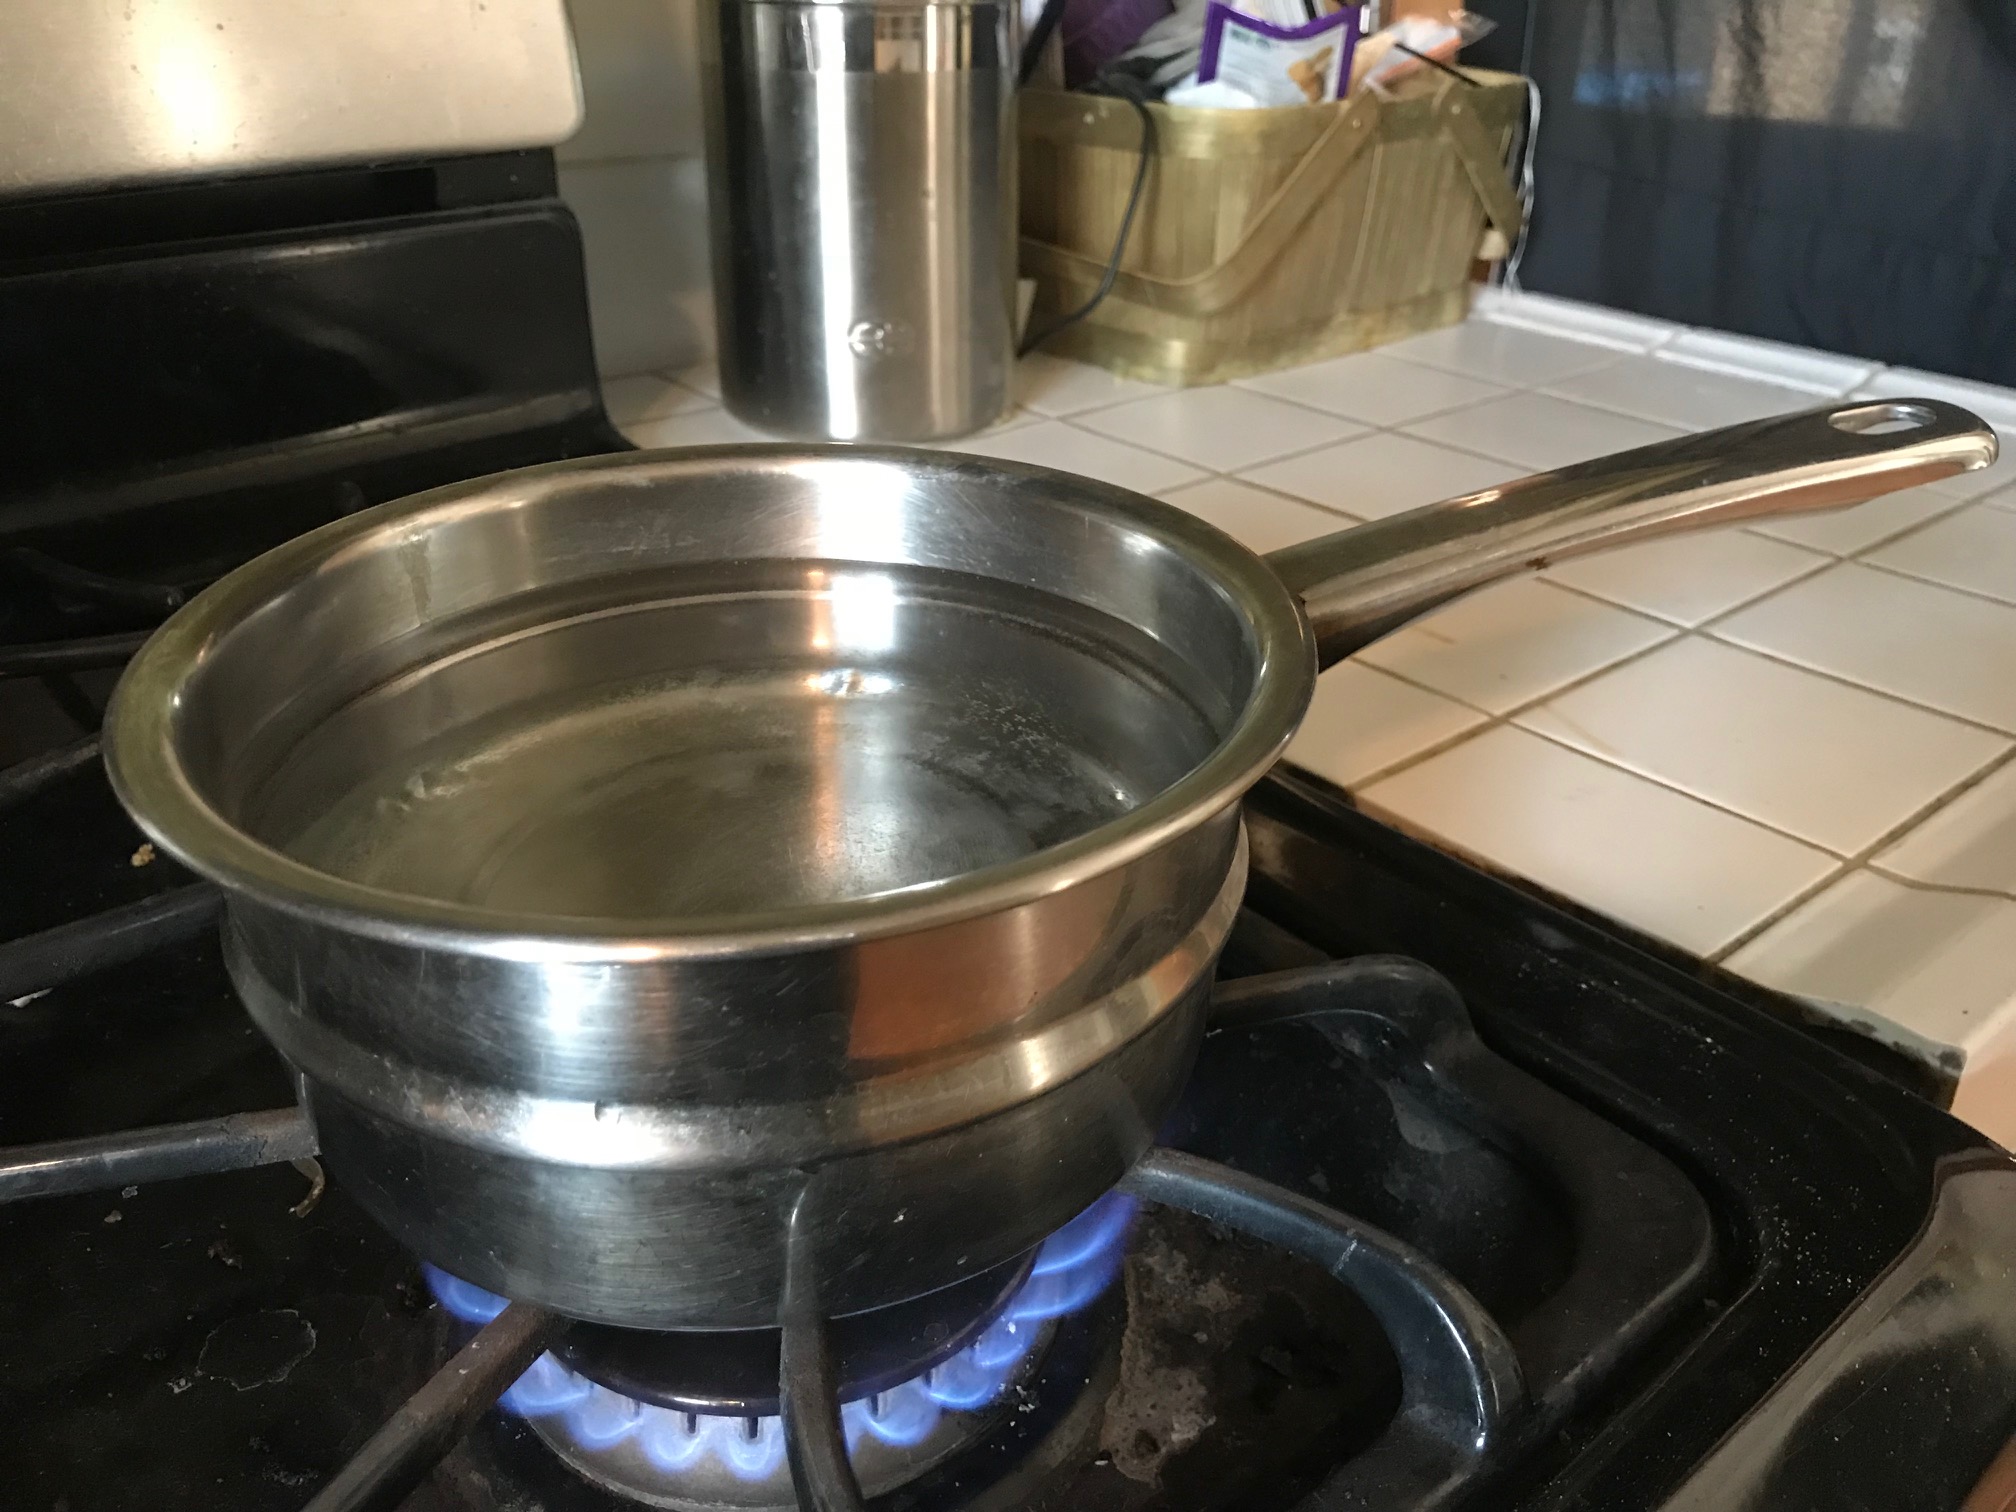
Step 1: Put four or five cups of water in a pot and bring to a boil.
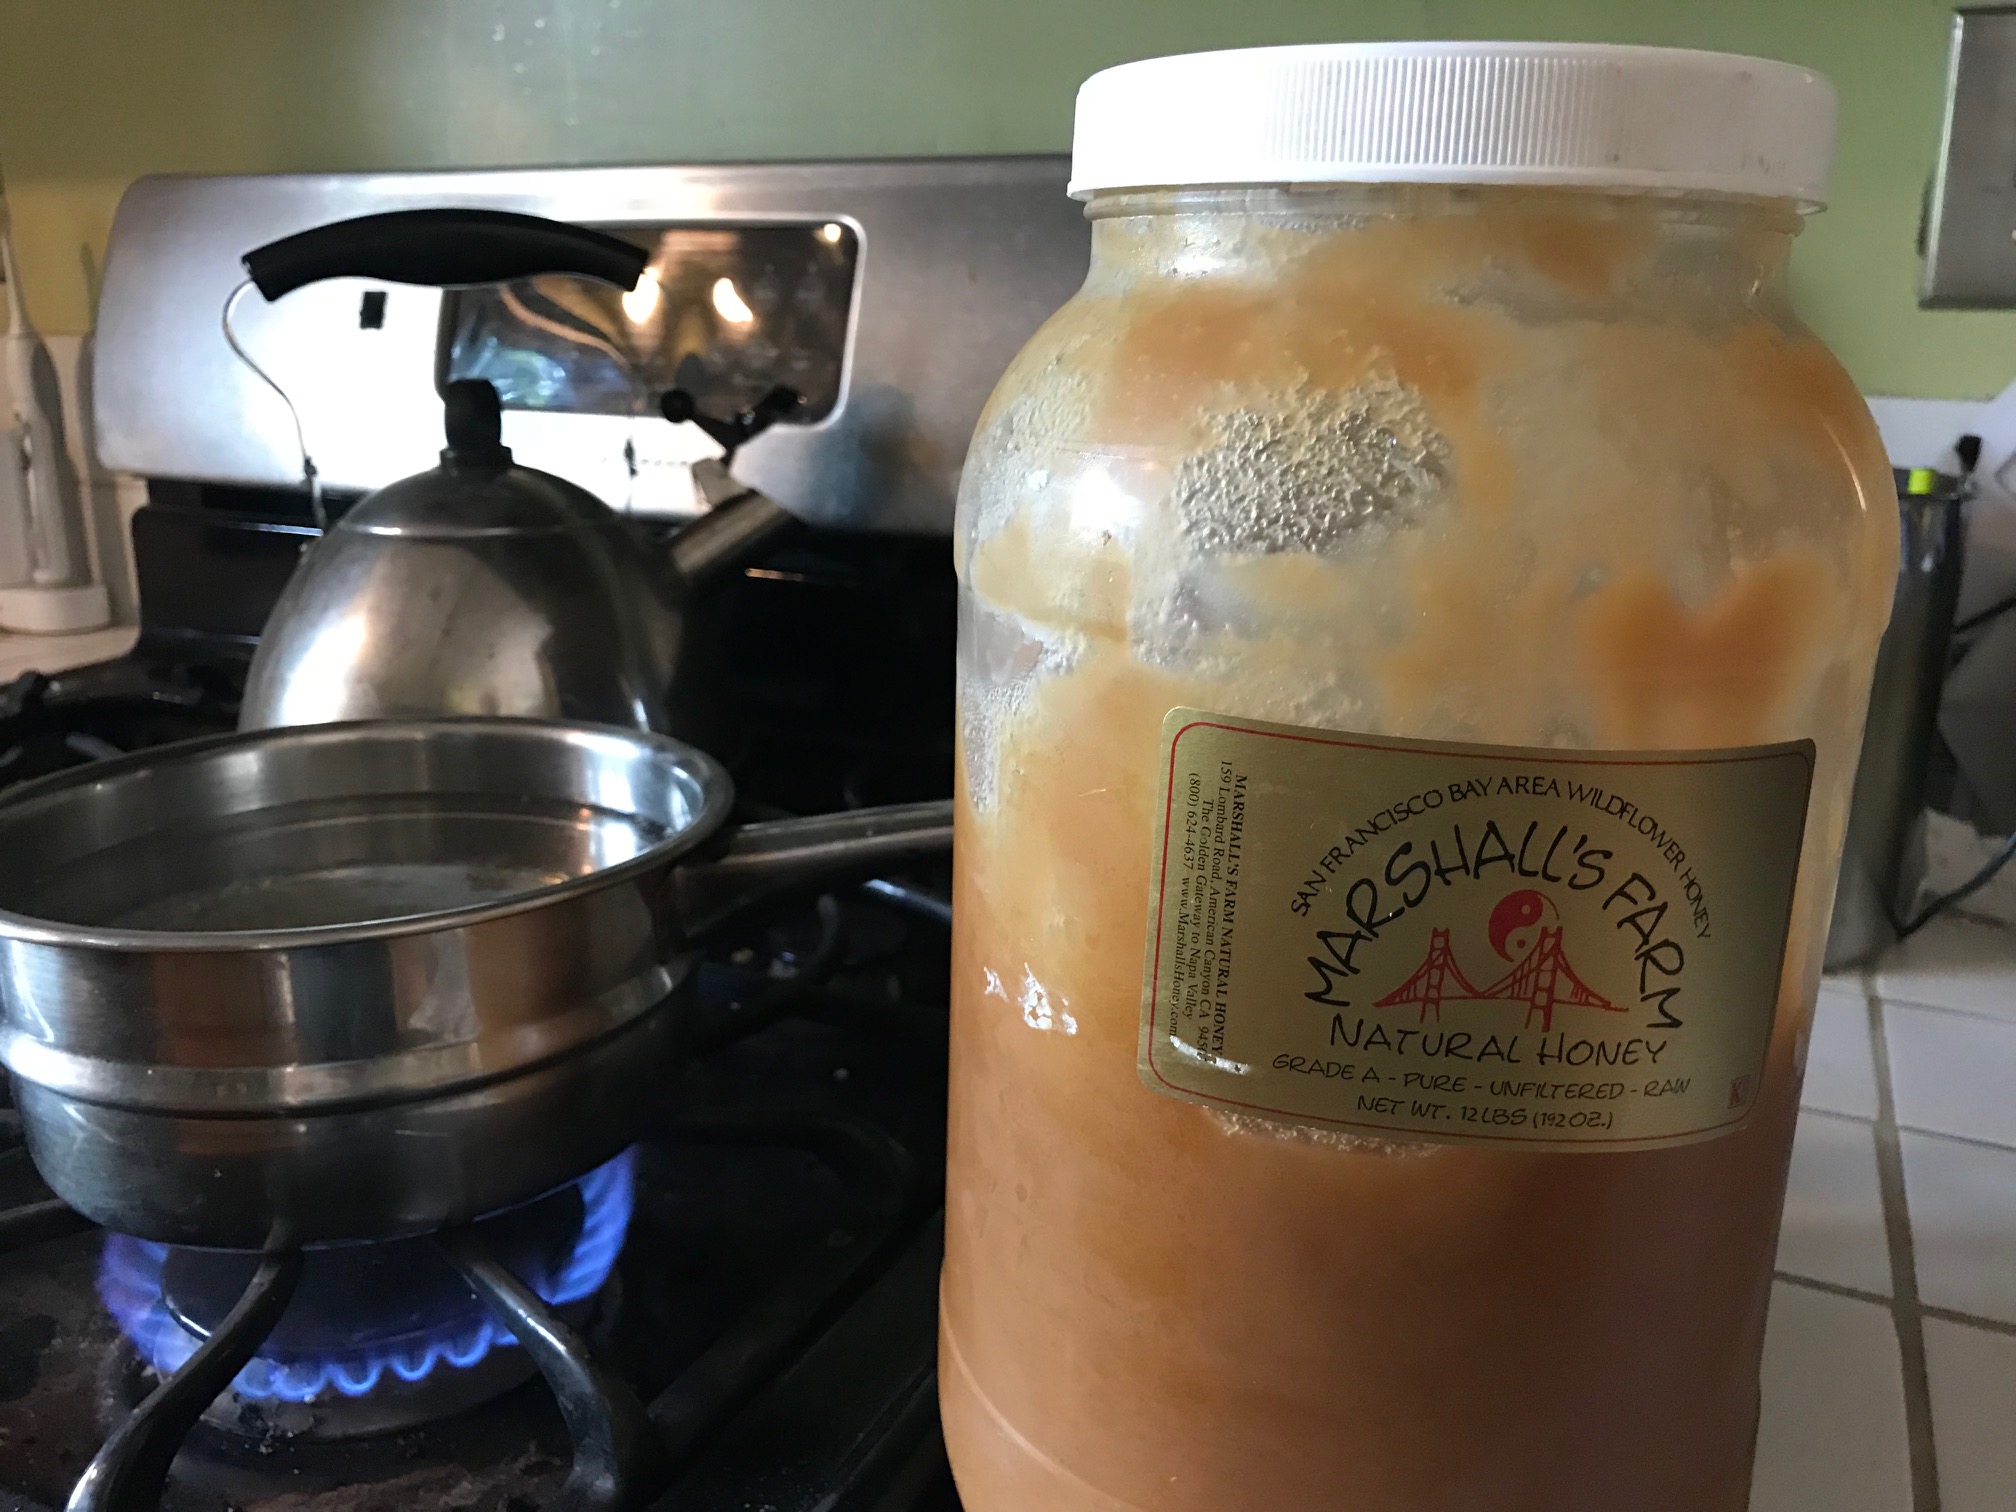
Step 2: Get your GIANT JAR of Marshall’s Farm Honey out of the fridge (which you keep there so it doesn’t get infested with ants!)… because ANTS LOVE HONEY!
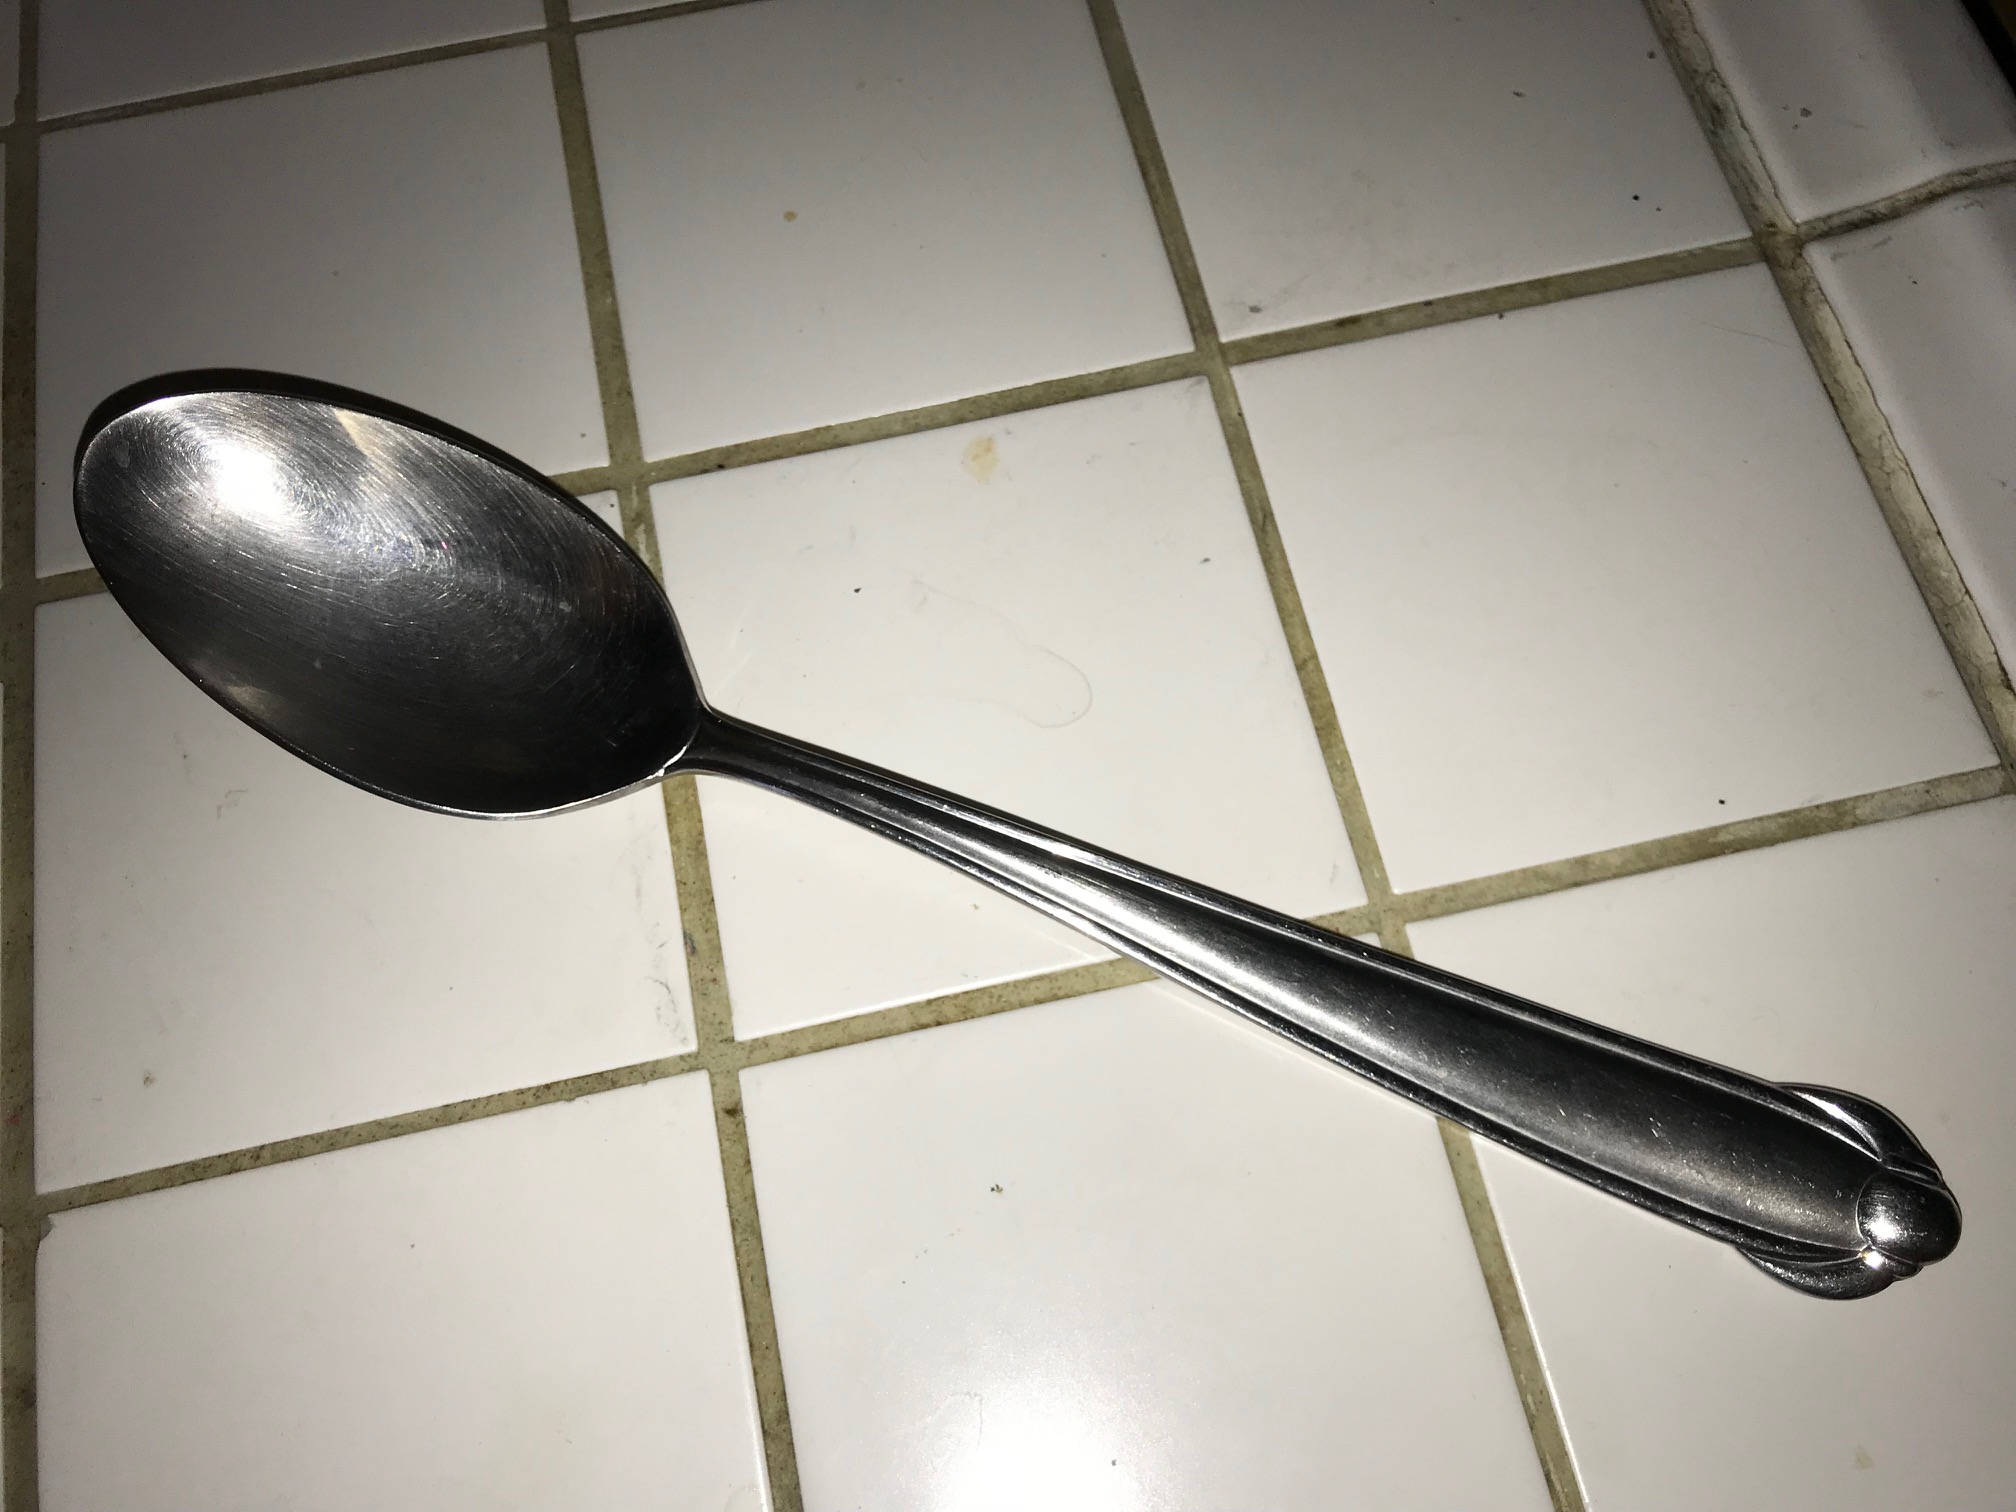
Step 3: Get a LARGE mixing spoon.
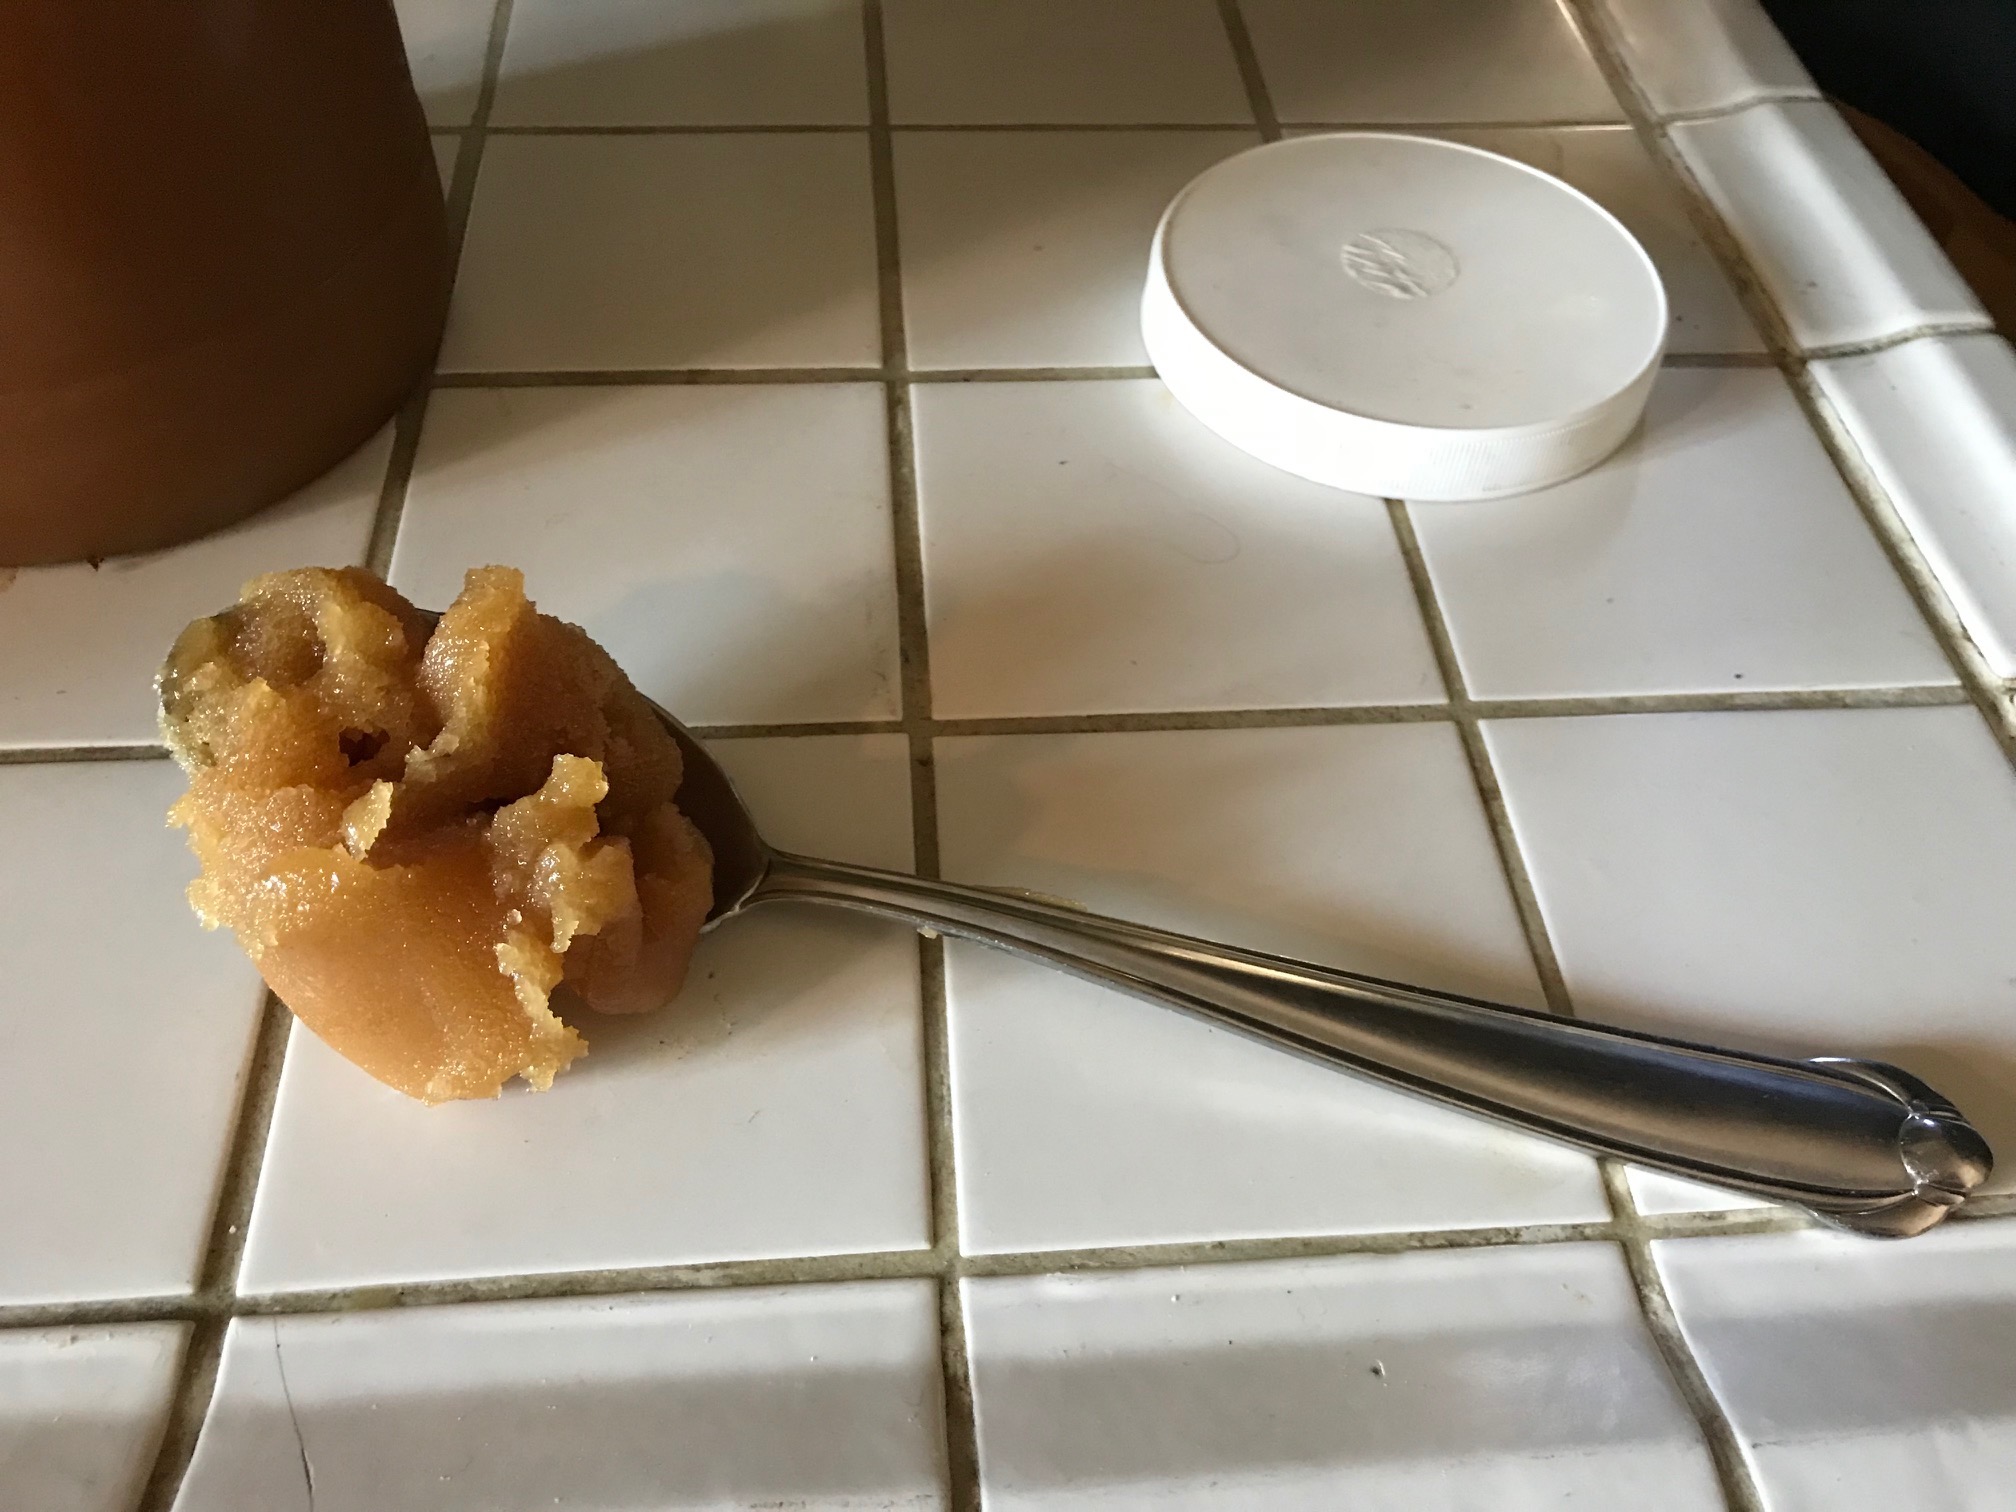
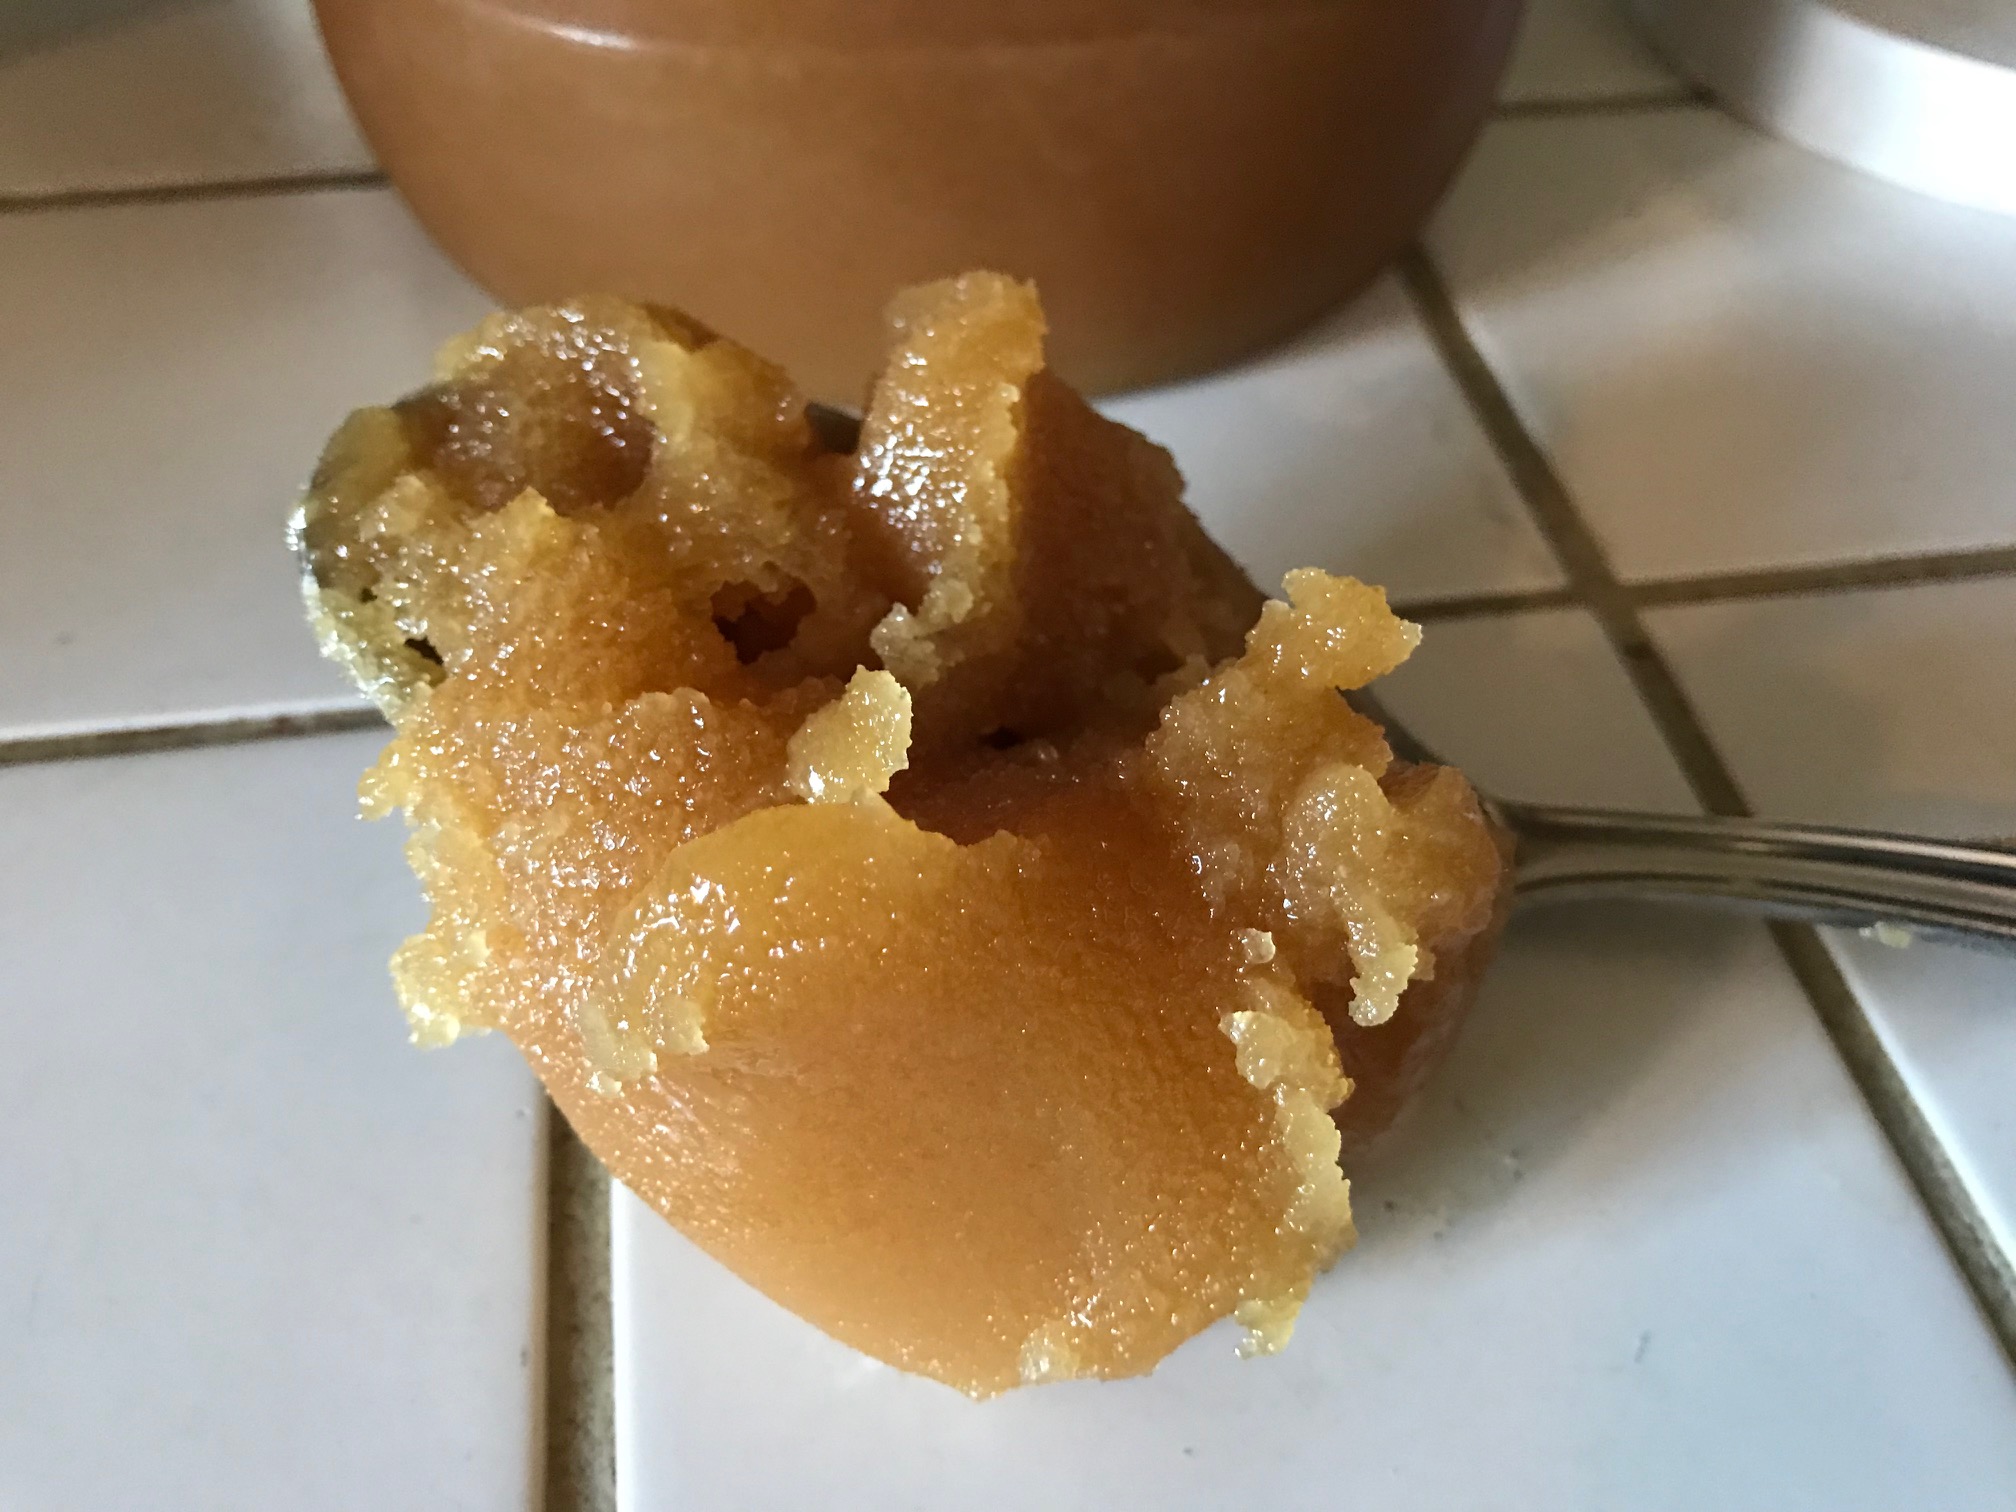
Step 4: Scoop out a giant spoonful of honey (as much as you can afford to spare – how badly do you want these ants gone? THIS is the SECRET INGREDIENT – ants can’t stay away!) This is about 6 oz of crystalized honey in my spoon (maybe 8).
Step 5: Are you sure you got enough honey? (that’s not really a step – but just checking!)
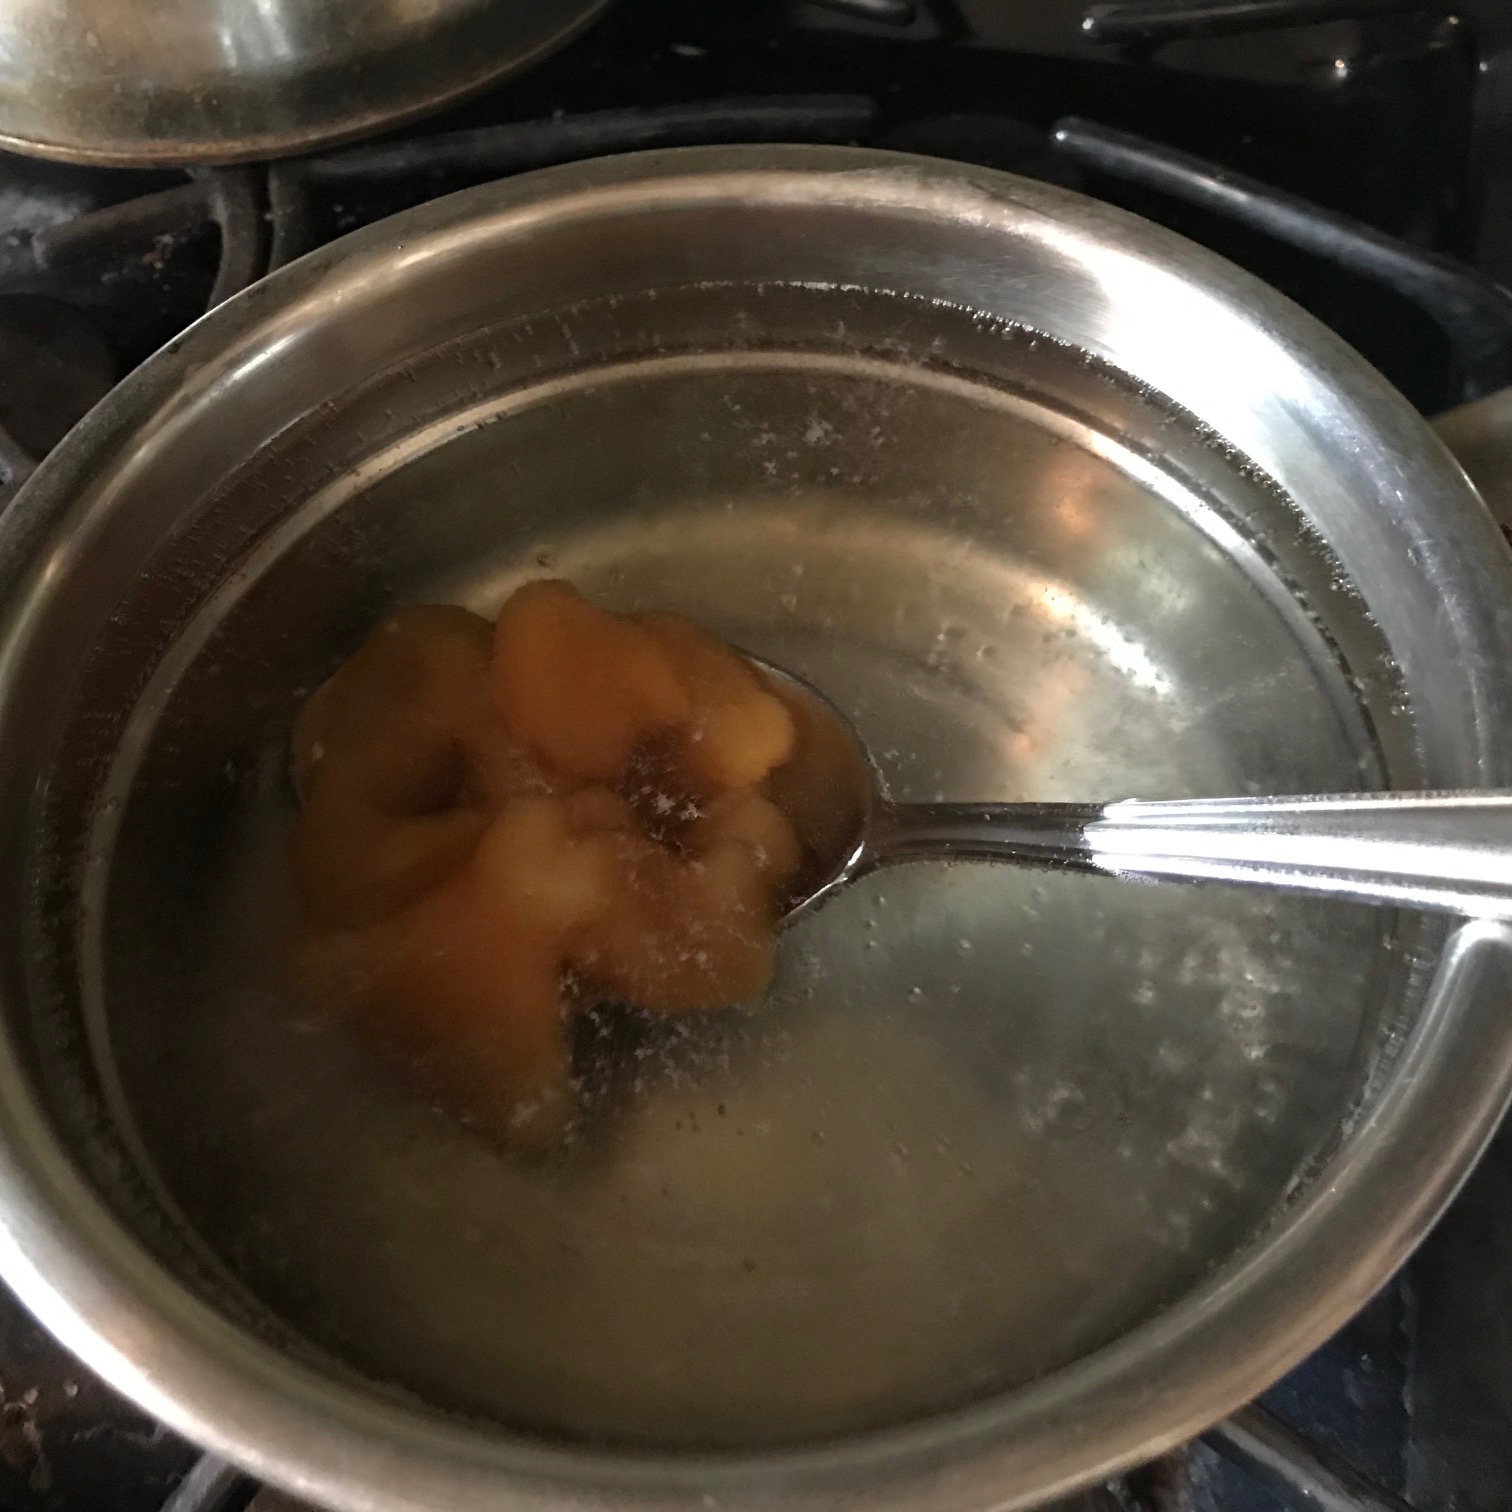
Step 6: Put your “spoonful” of honey into your pot of boiling water. The honey will likely slide right off the spoon because of the heat.
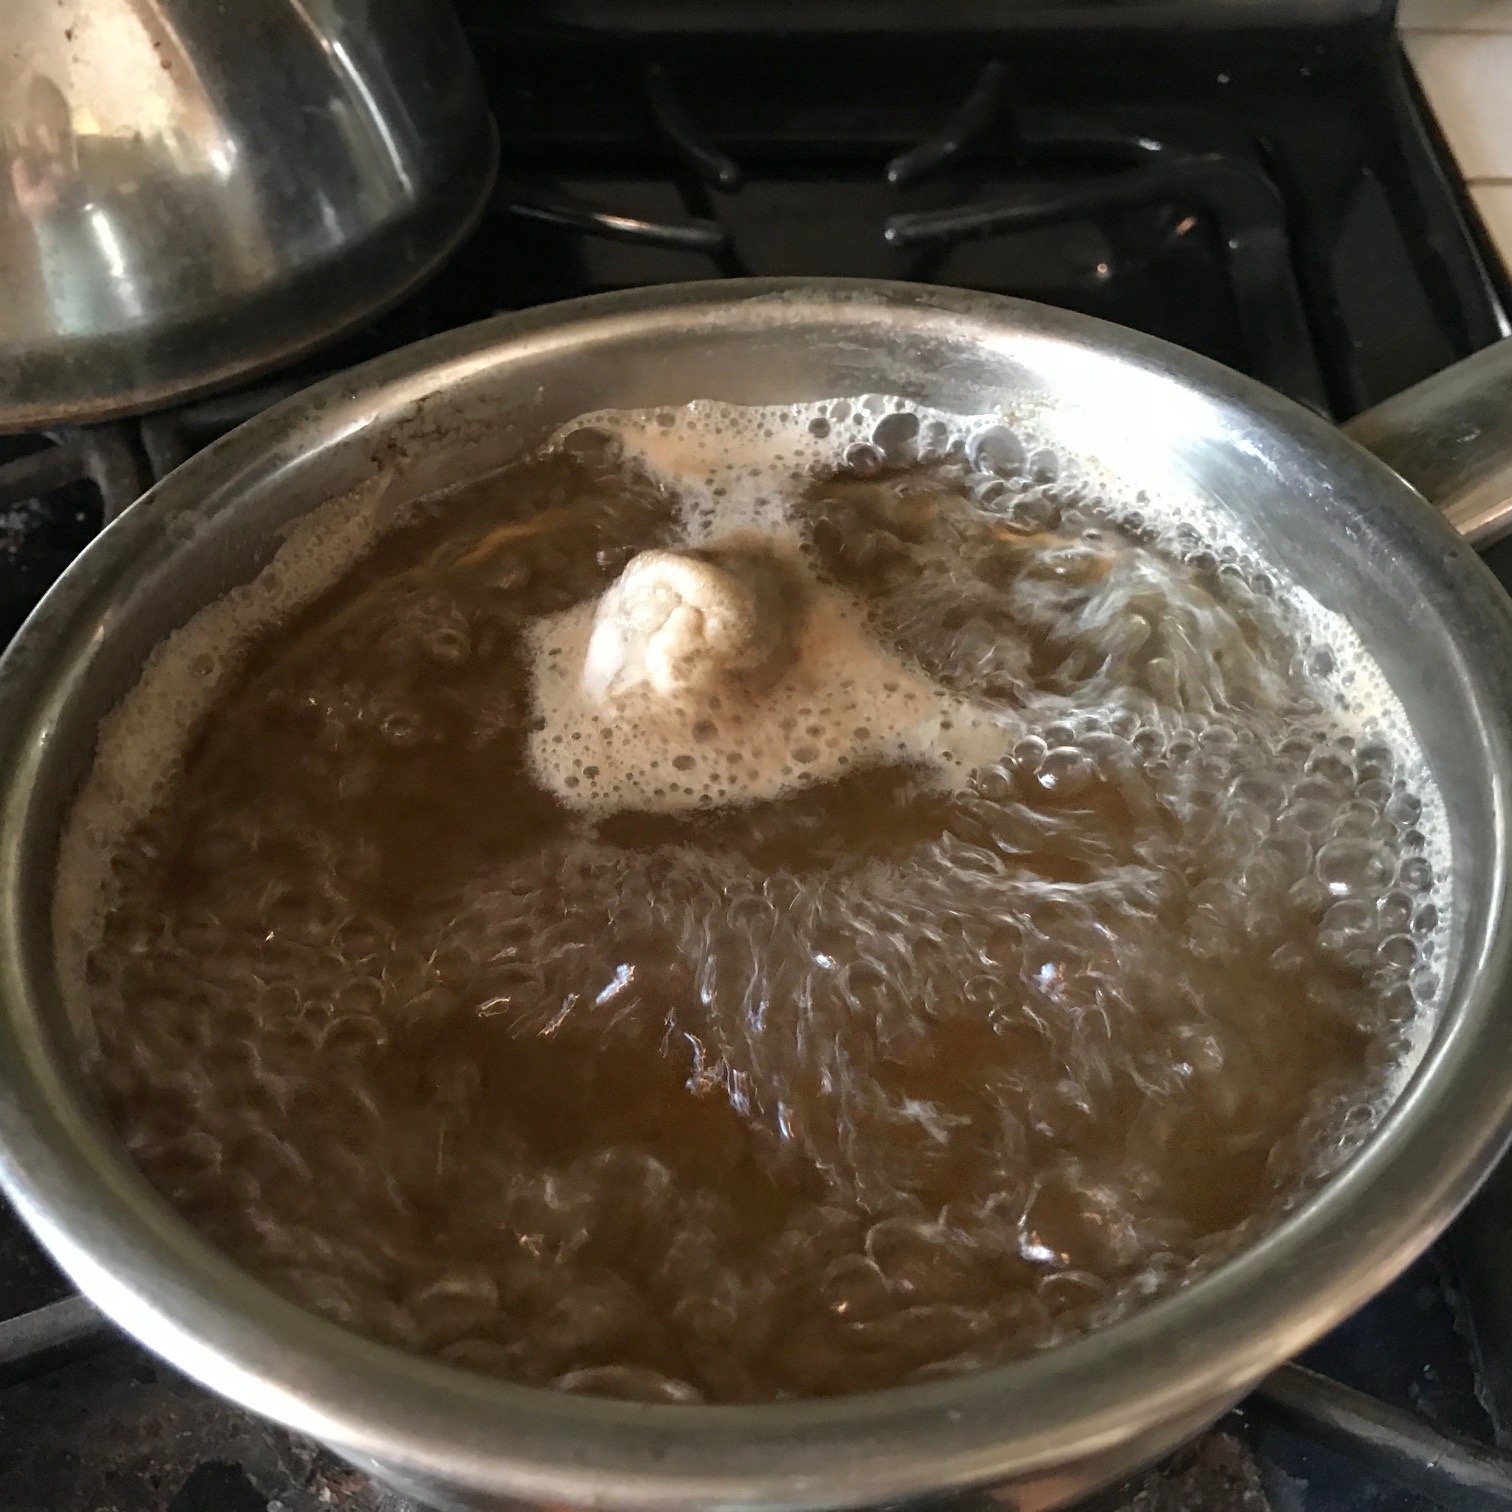
Step 7: Boil the honey and water until the honey is fully dissolved. (It doesn’t need to be a full boil, at a lower temp it will just need to be boiled a little bit longer for the honey to dissolve.)
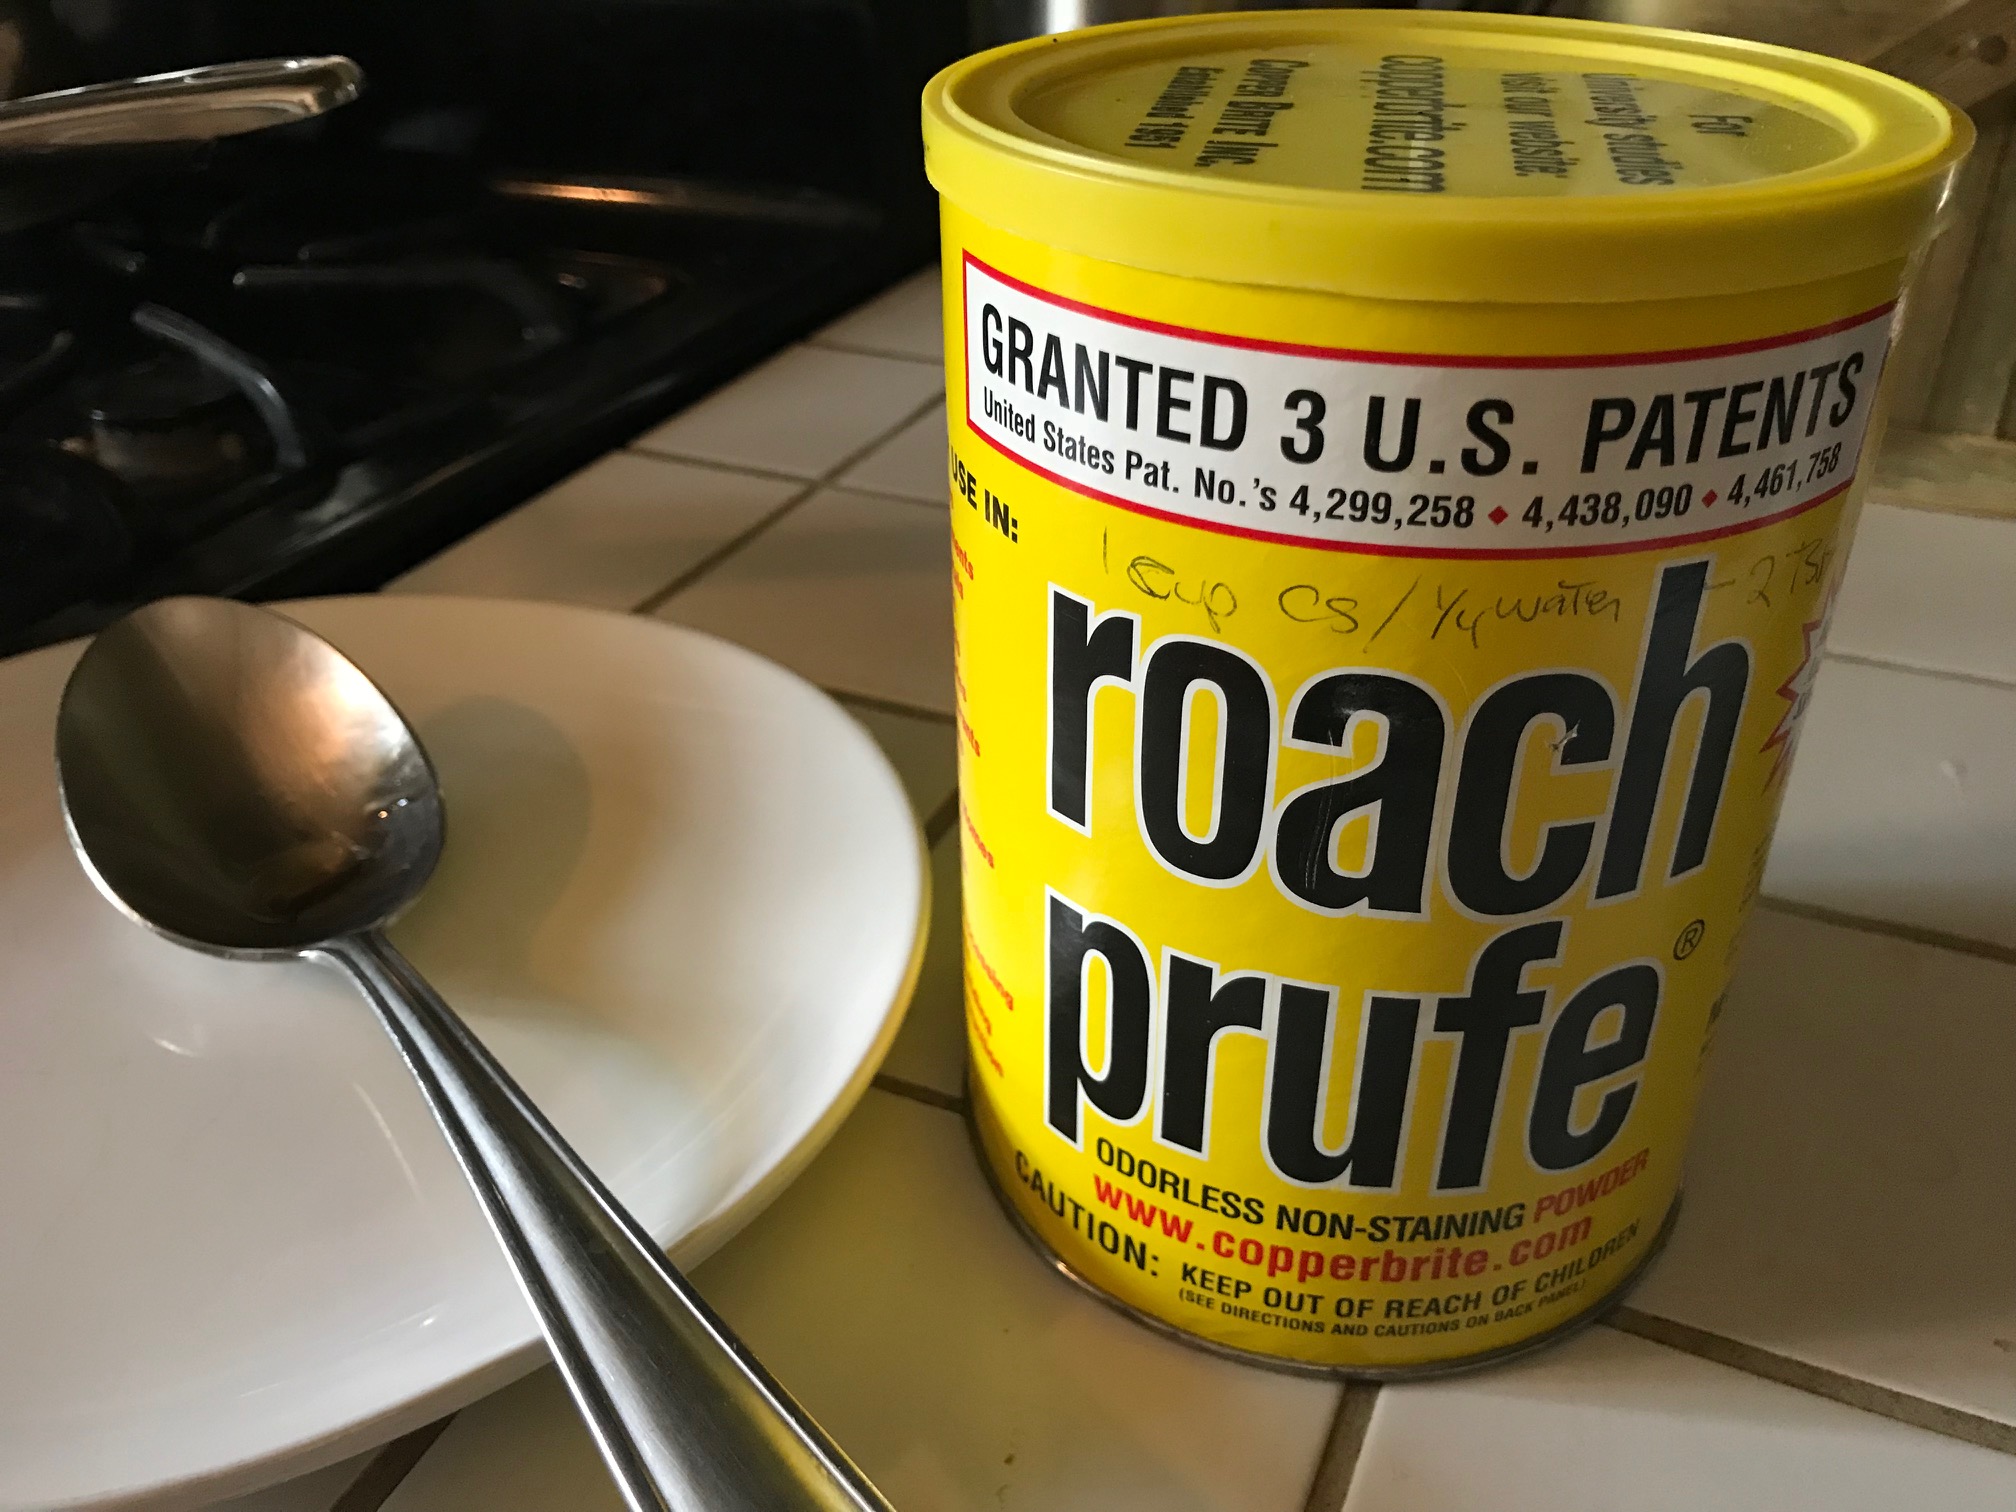
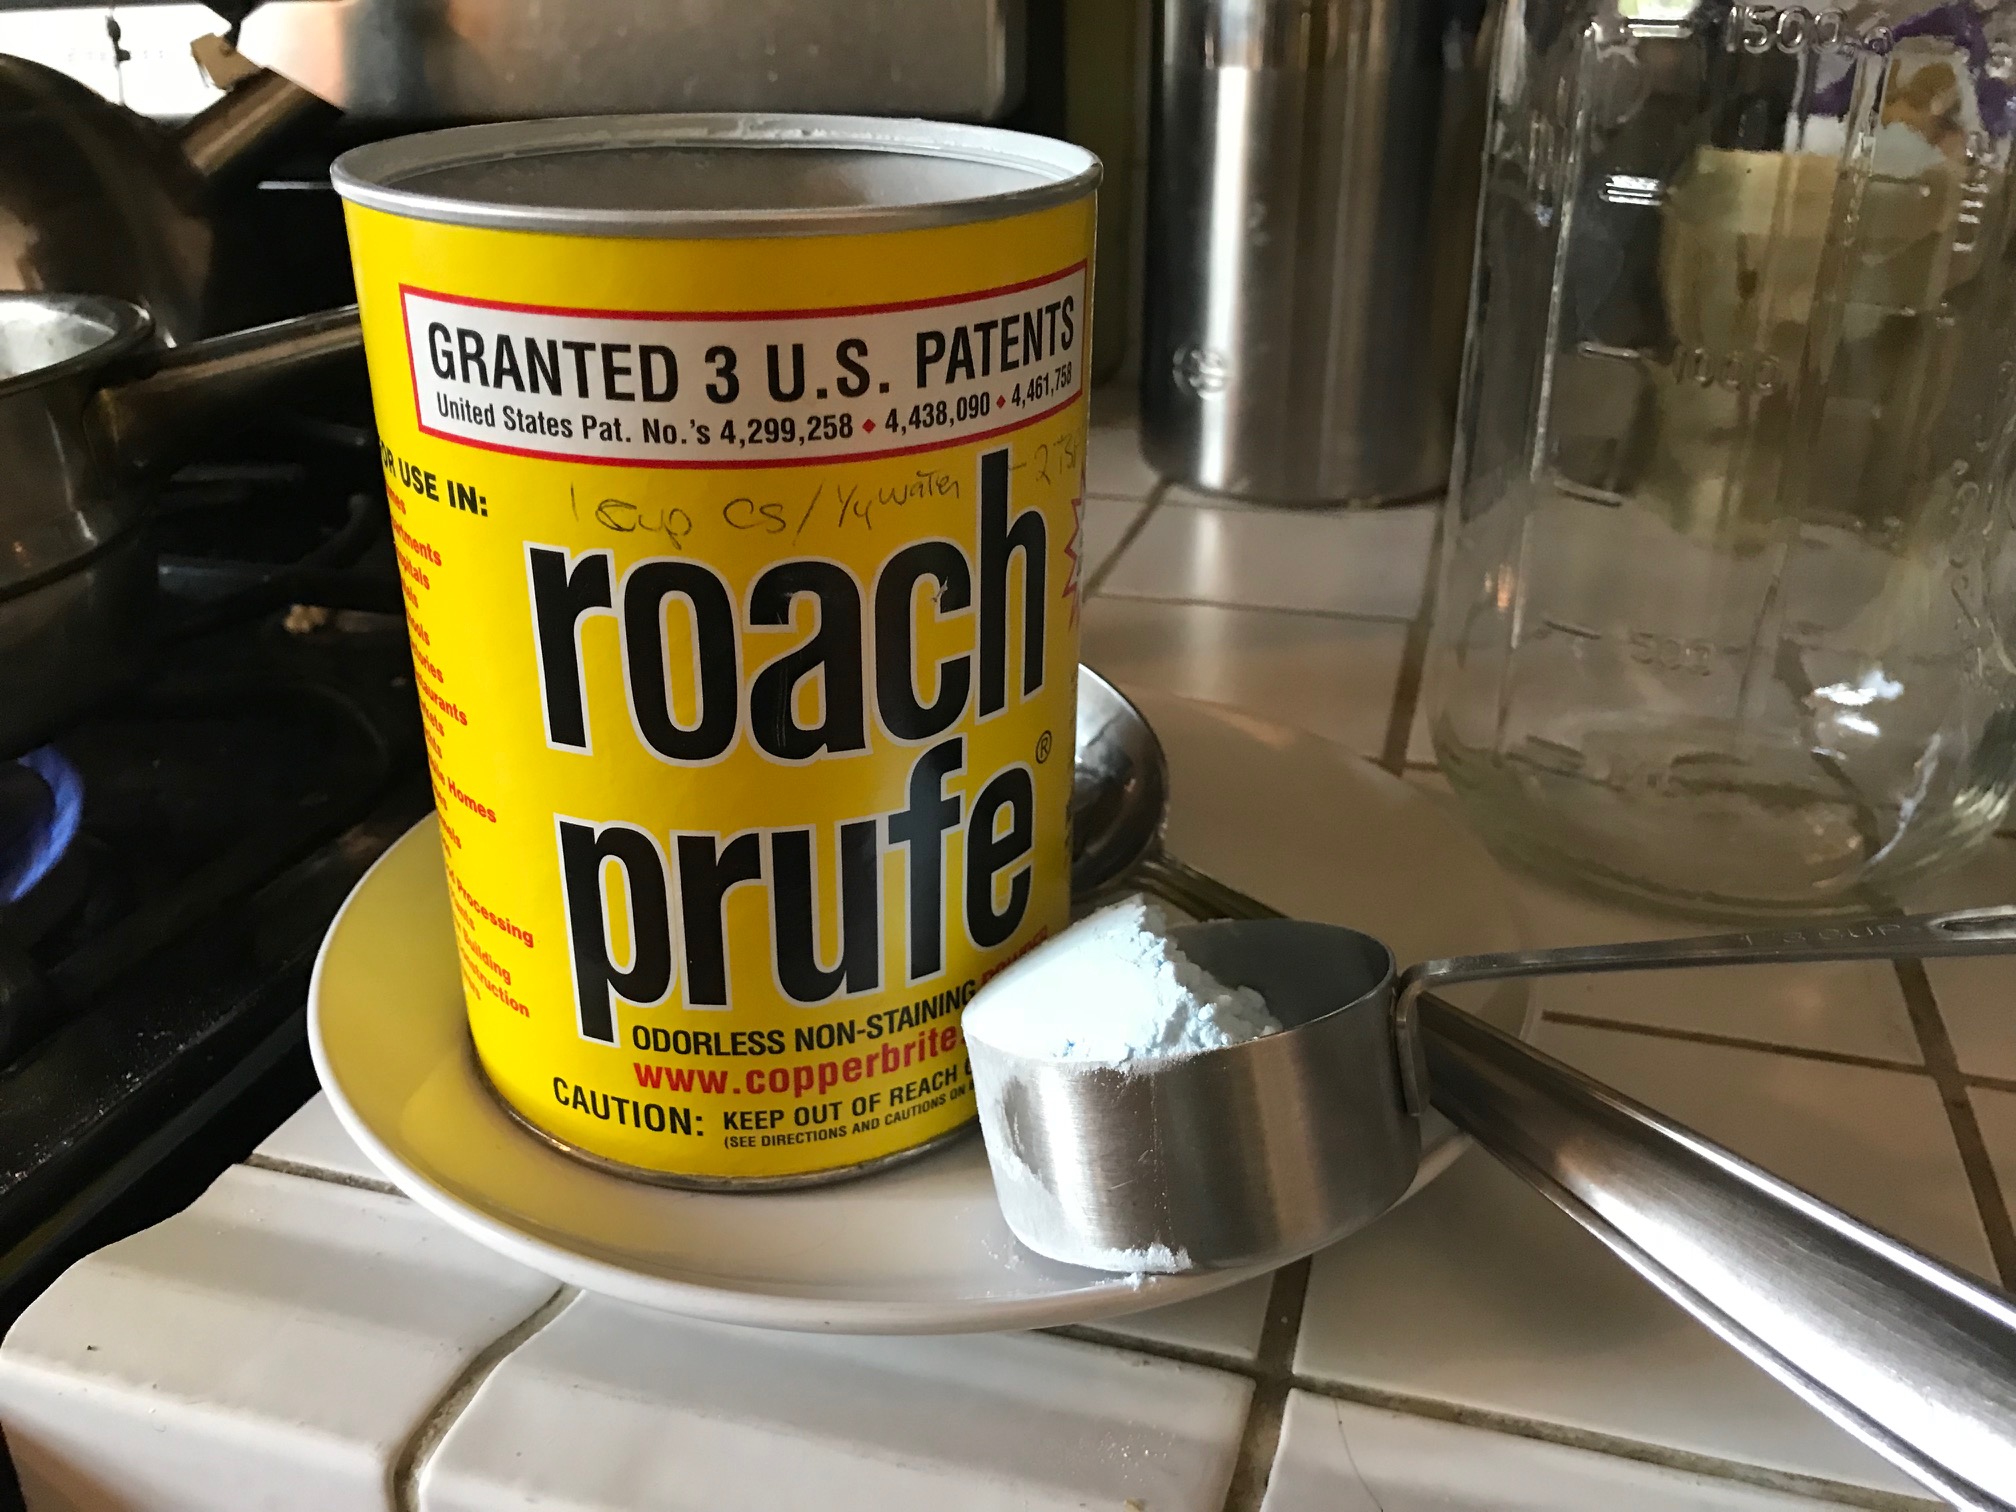
Step 8: Get some boric acid. Roach Prufe (shown here) is 99% boric acid. I think the other 1% must be blue dye or something, lol! I don’t even know if they still sell this stuff, I have had this one can since about 2007 – I keep it stored in the back of a filing cabinet in my storage shed so the kids can’t get to it. Here’s a link to some 100% Boric Acid on Amazon.
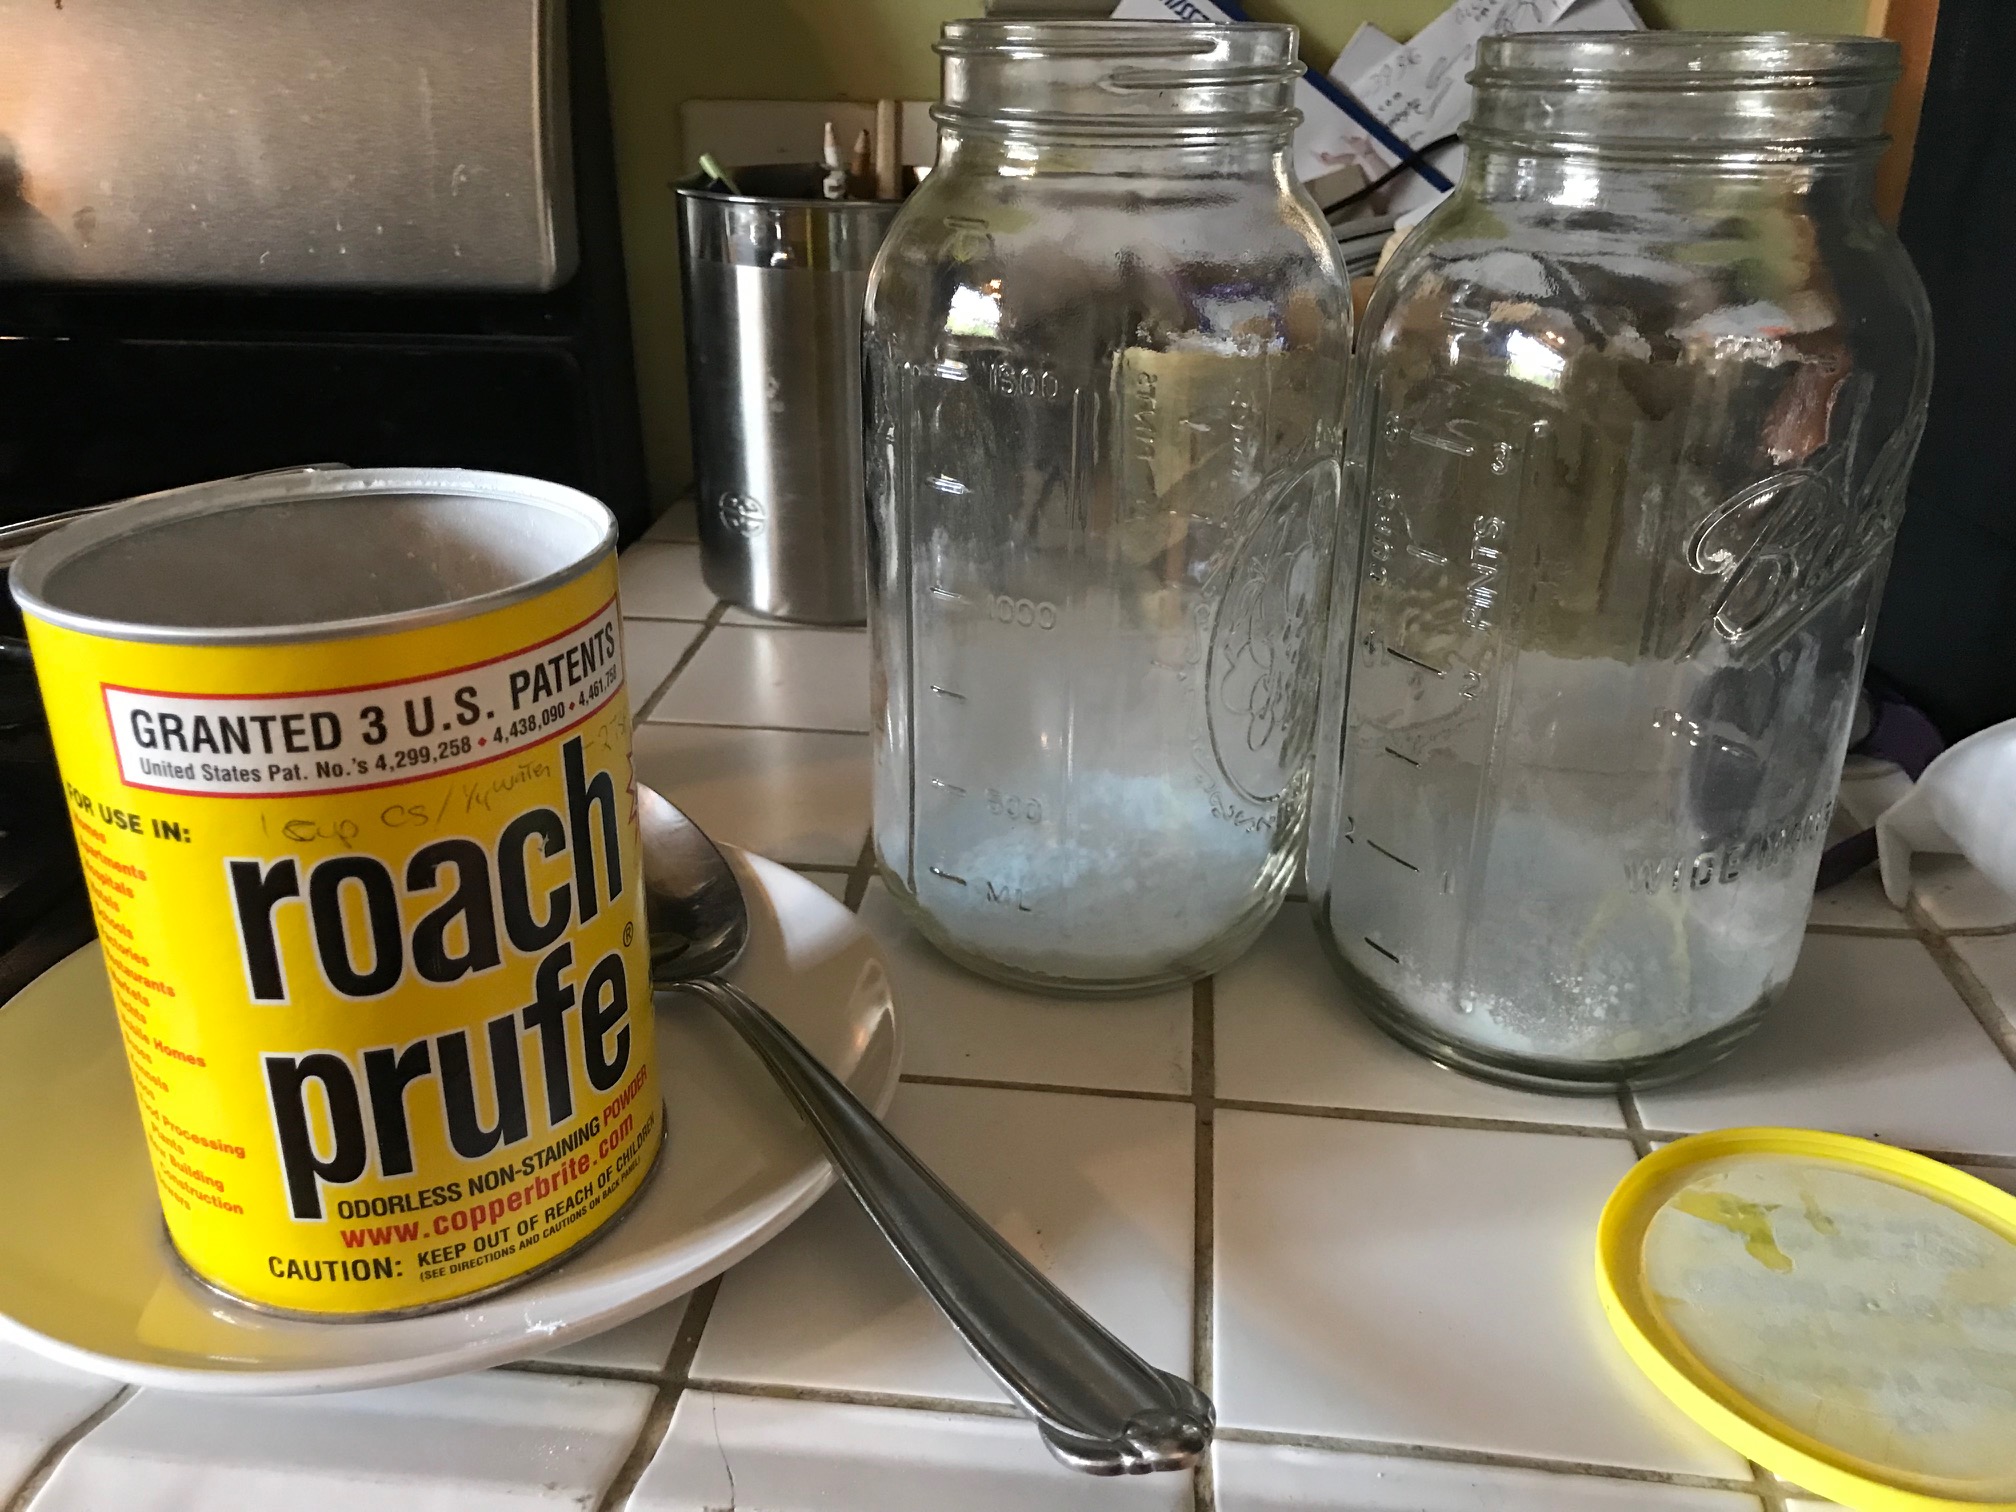
Step 9: Get two large glass Ball jars (1/2 gallon size is good, although smaller ones would work) and a 1/3 cup measuring cup.
Step 10: Pour 1/3 cup of the boric acid powder into each of the two jars. The amount does not have to be precise.
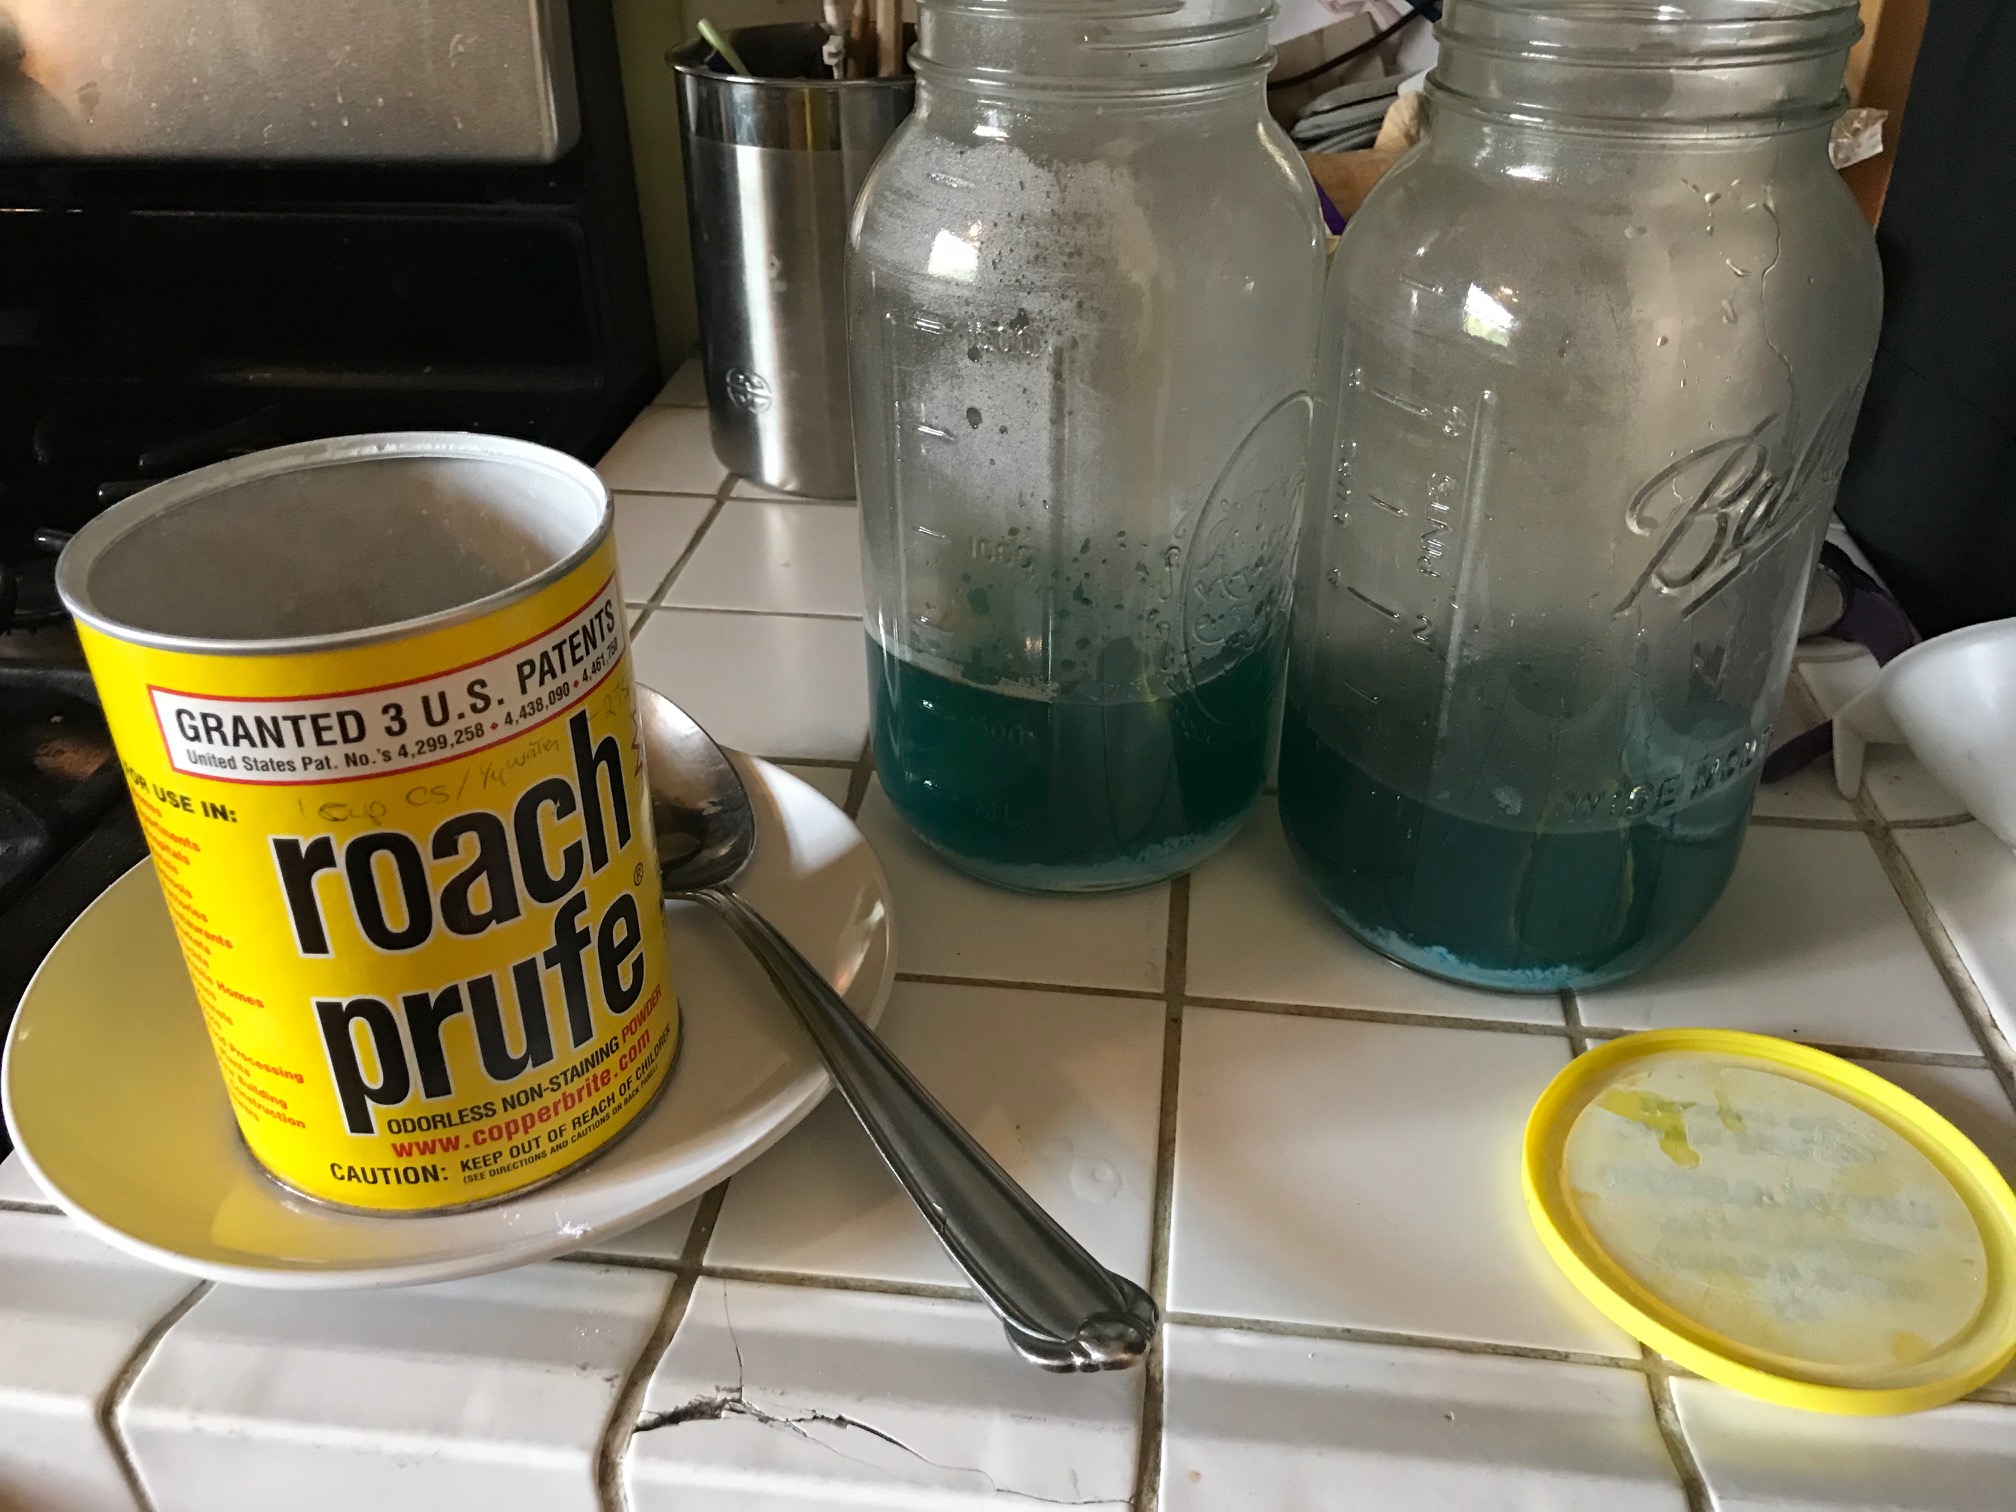
Step 11: Pour the dissolved honey in water into the two jars (half in each jar). Ideally, the jars should be less than 1/4 full – so only pour a little in each jar at a time until they reach the 1/4 full stage.
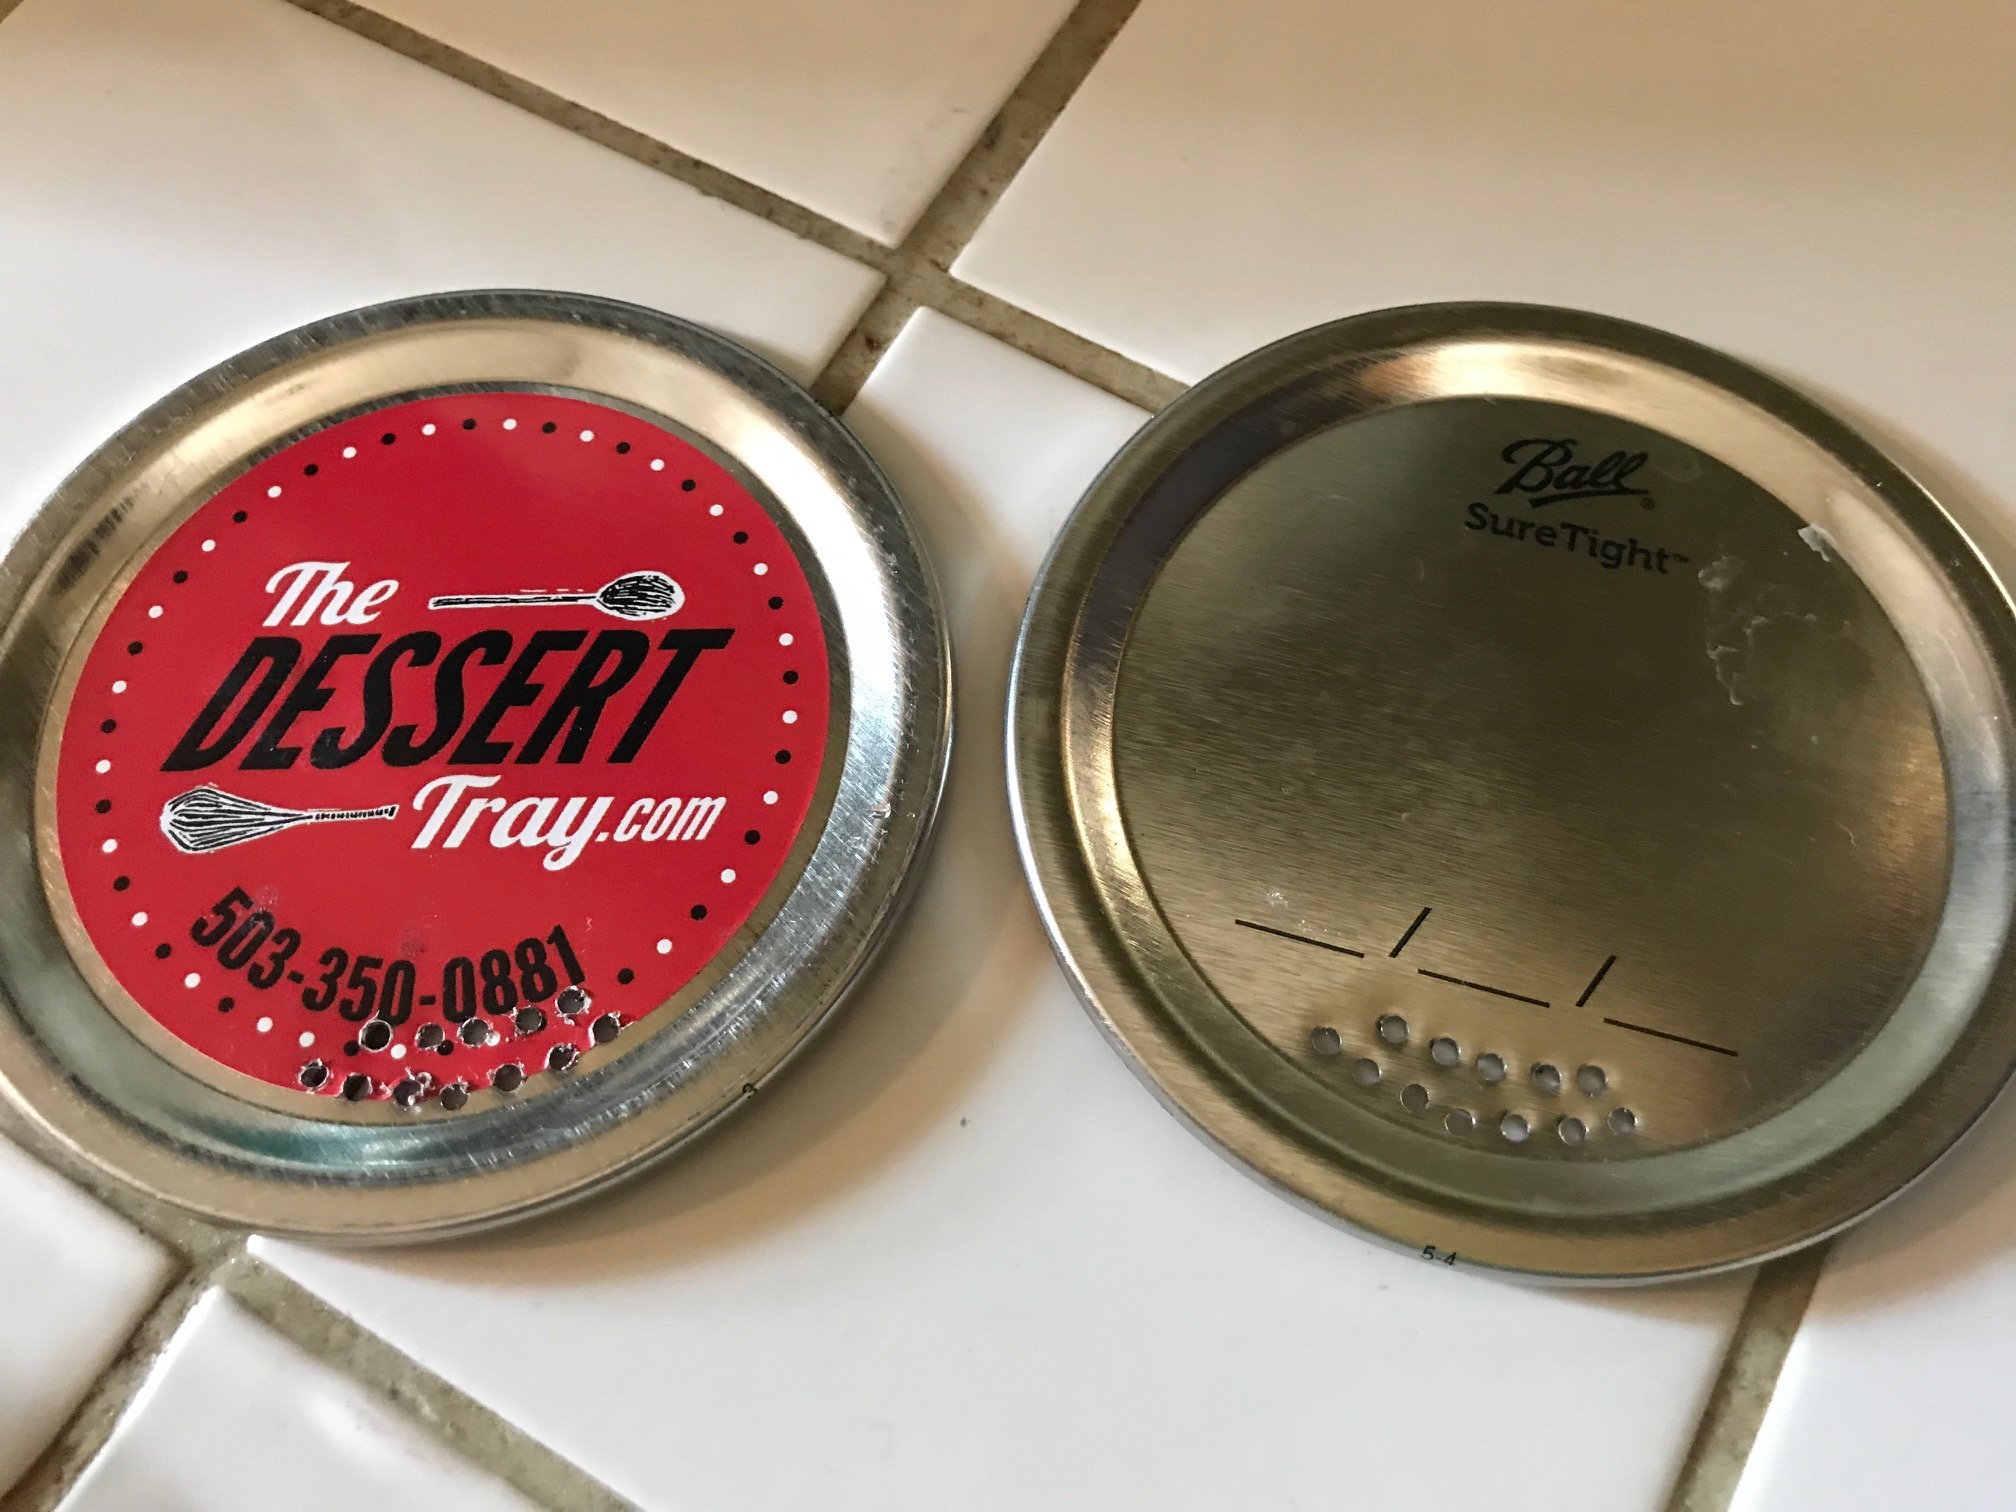
Step 12: Poke holes in ONE hemisphere of two jar lids. These holes I asked my husband to make were too small (see below), so I had him do it again!
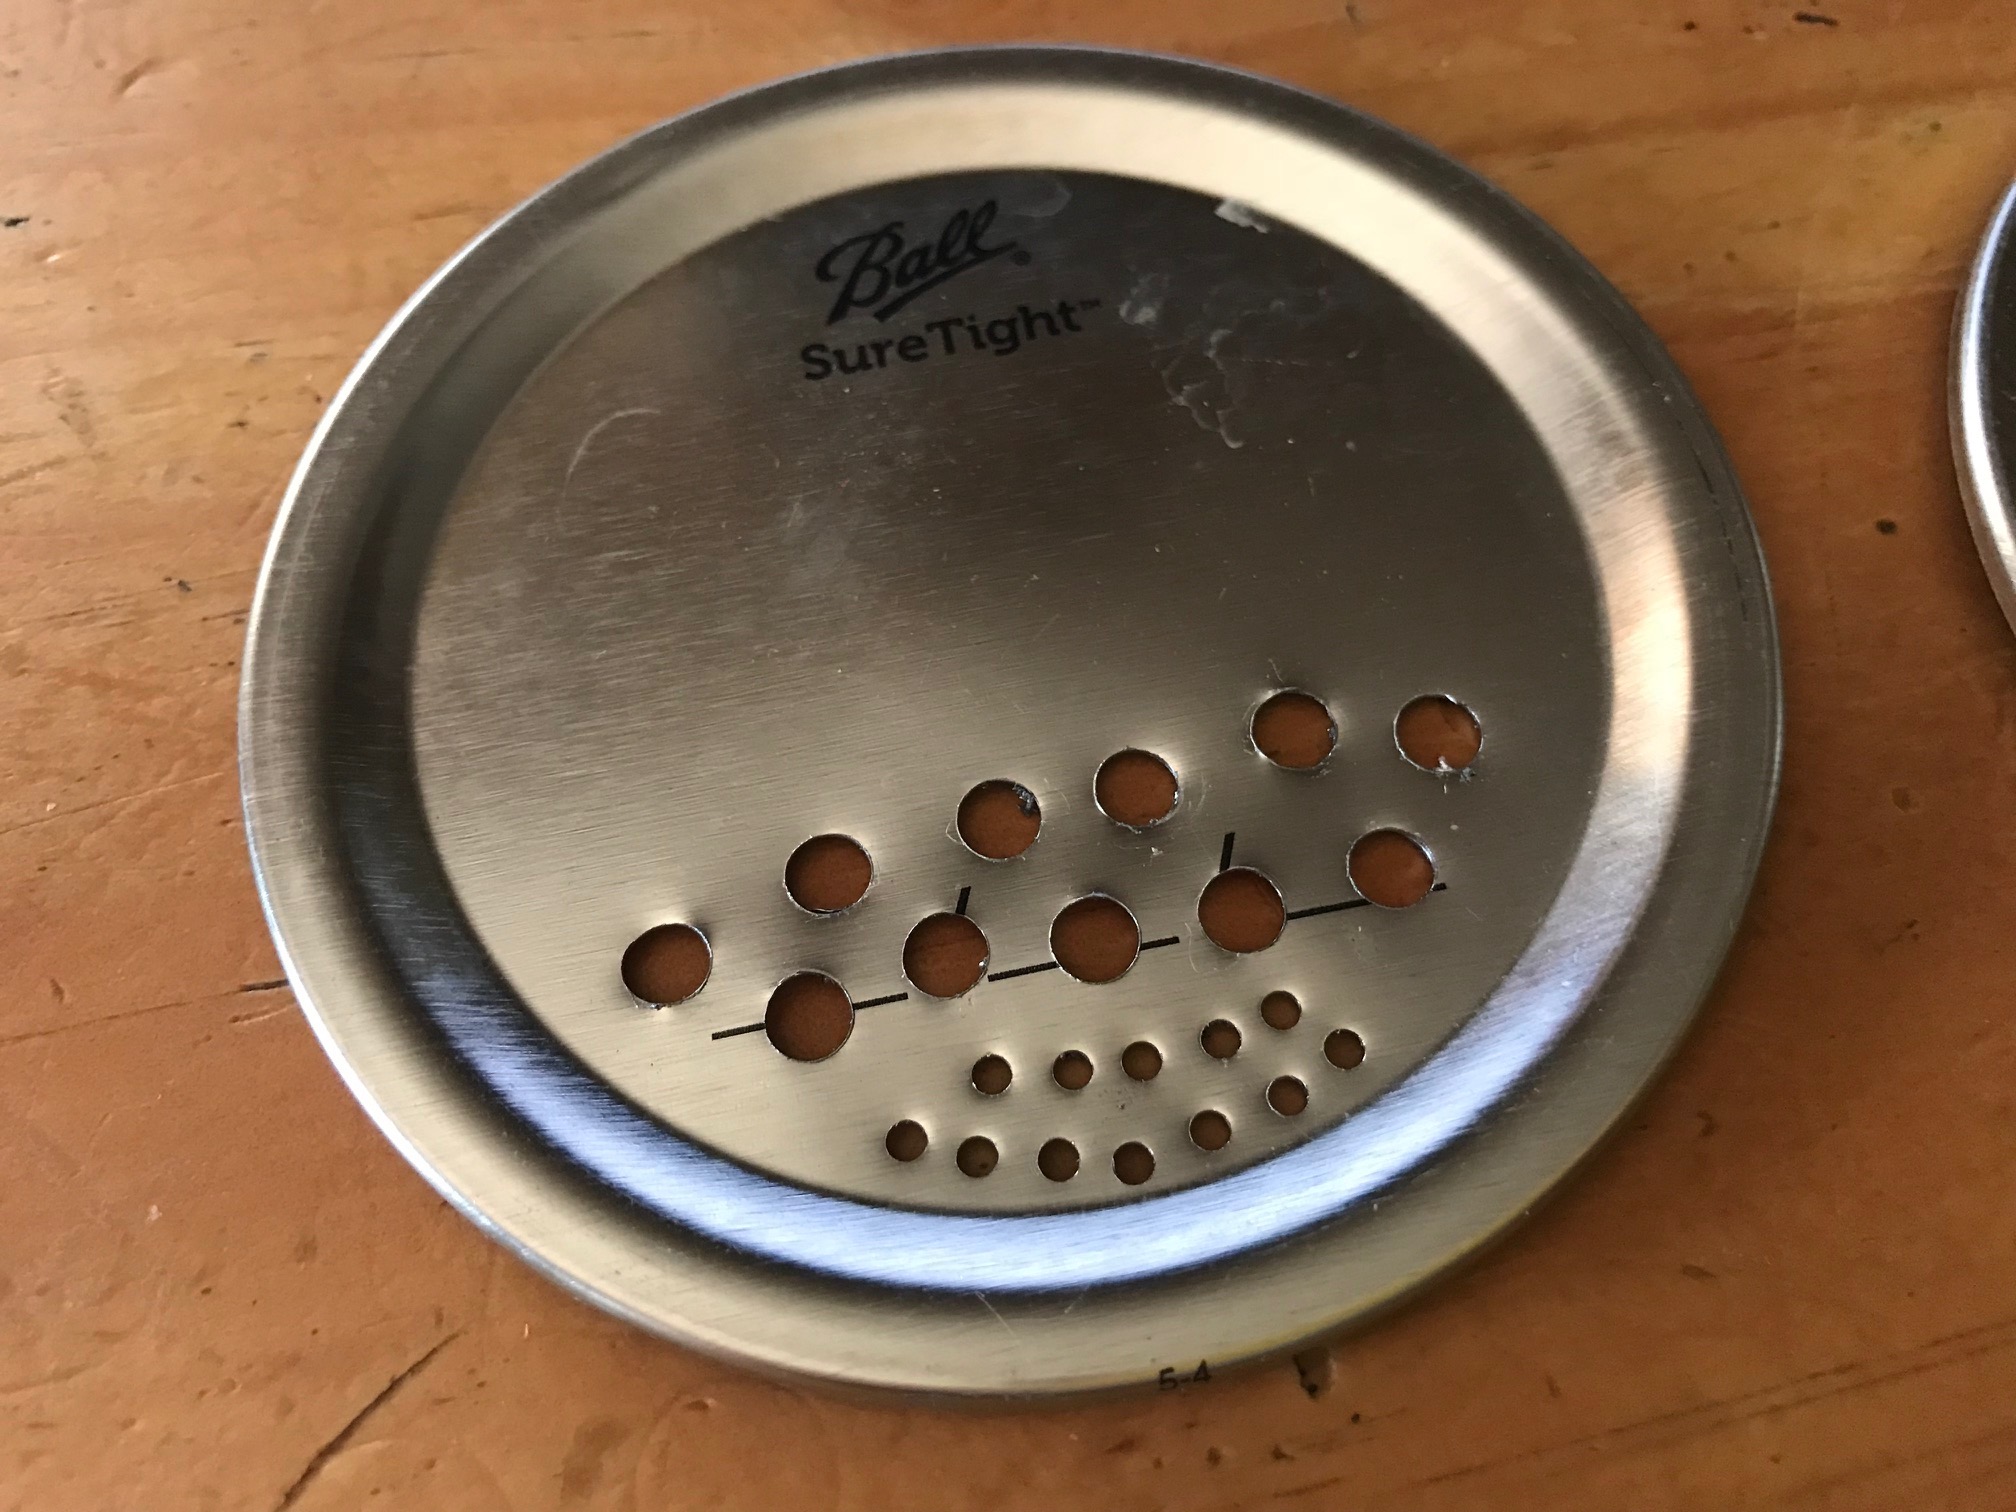
Step 12: These holes are better. You need to make it so the ants can SMELL THE HONEY and freely crawl in an out of the holes.
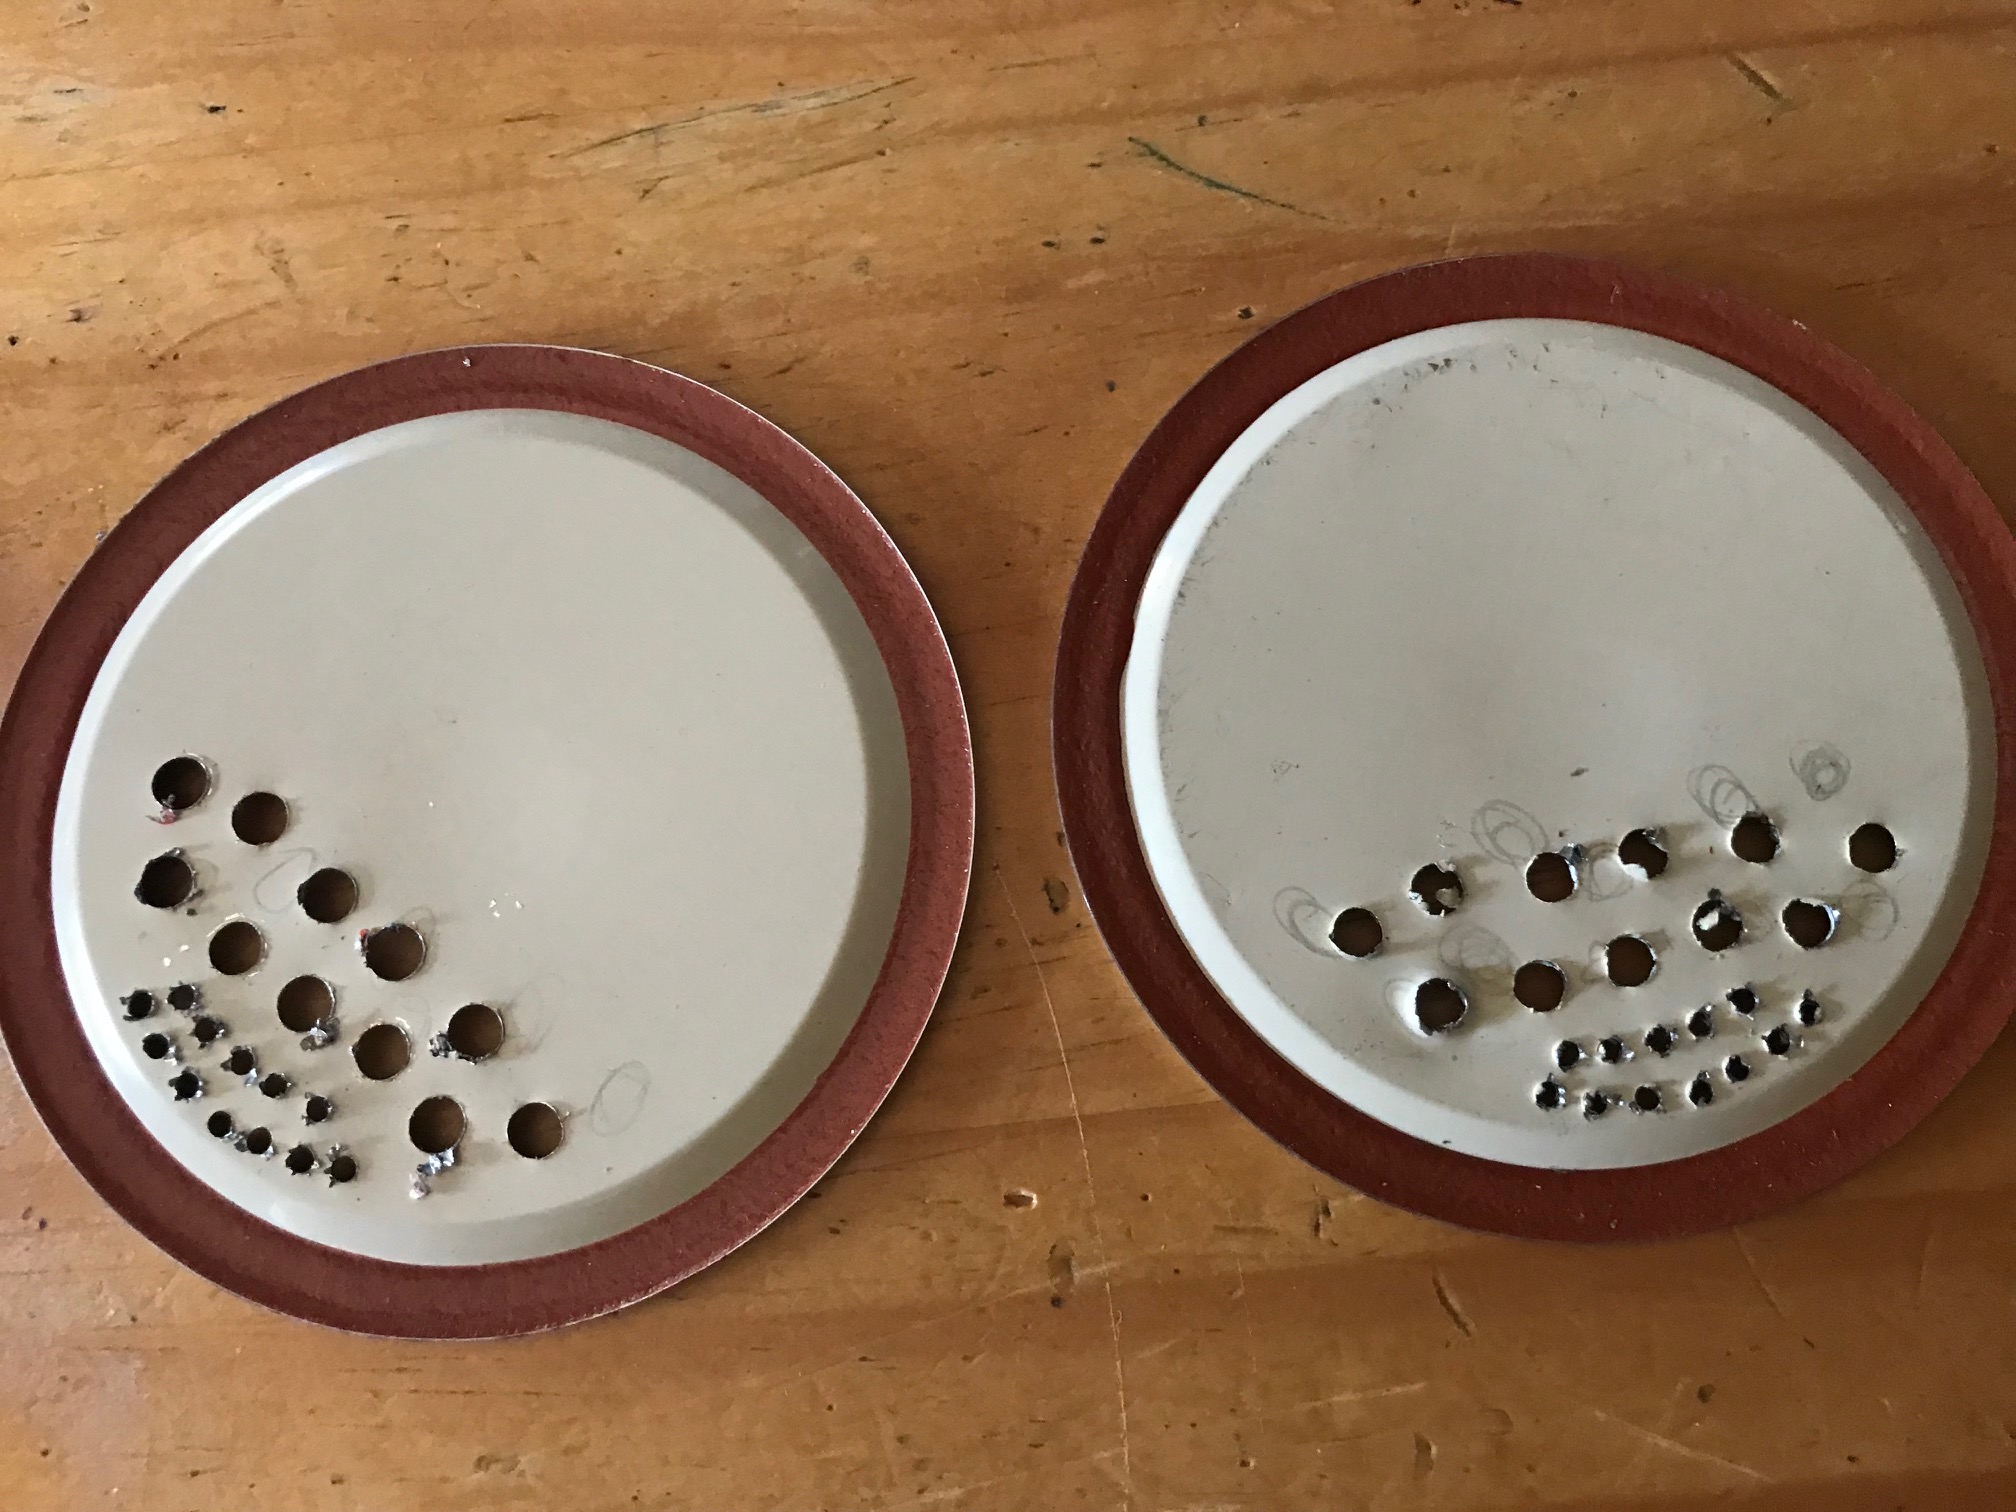
Step 12 b: Here’s what the holes look like on the back side, remember only 1/2 of the circle of the jar lid should have holes.
Step 13: Put the lids TIGHTLY on your jars. You want them to never come off! (But not too tight! you don’t want to break the jar putting the lids on!)
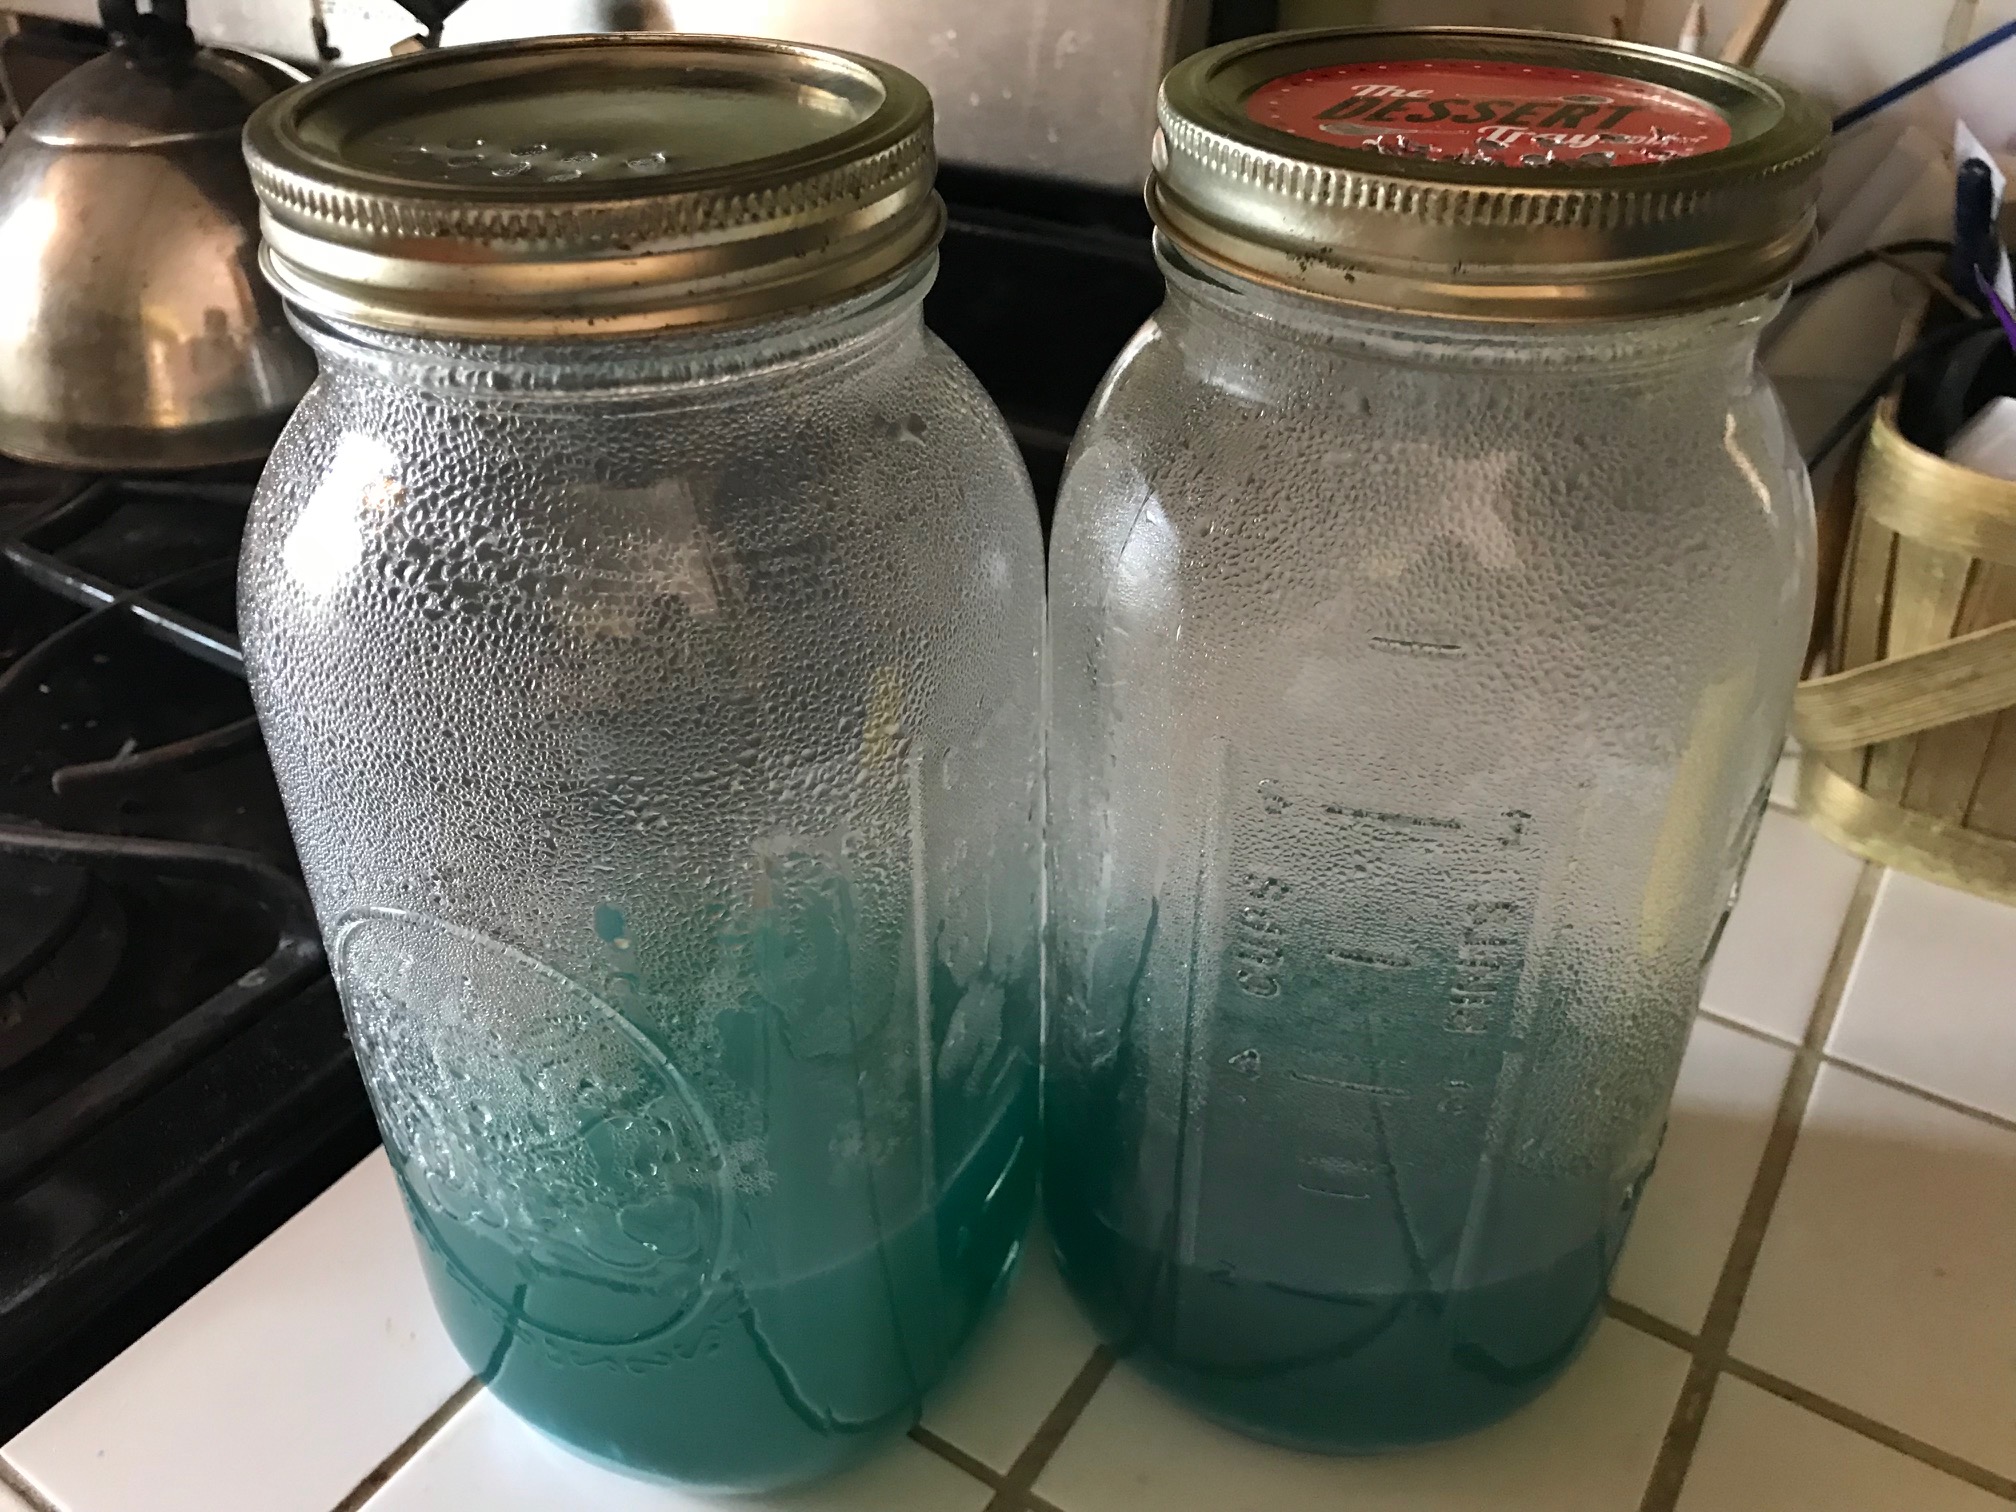
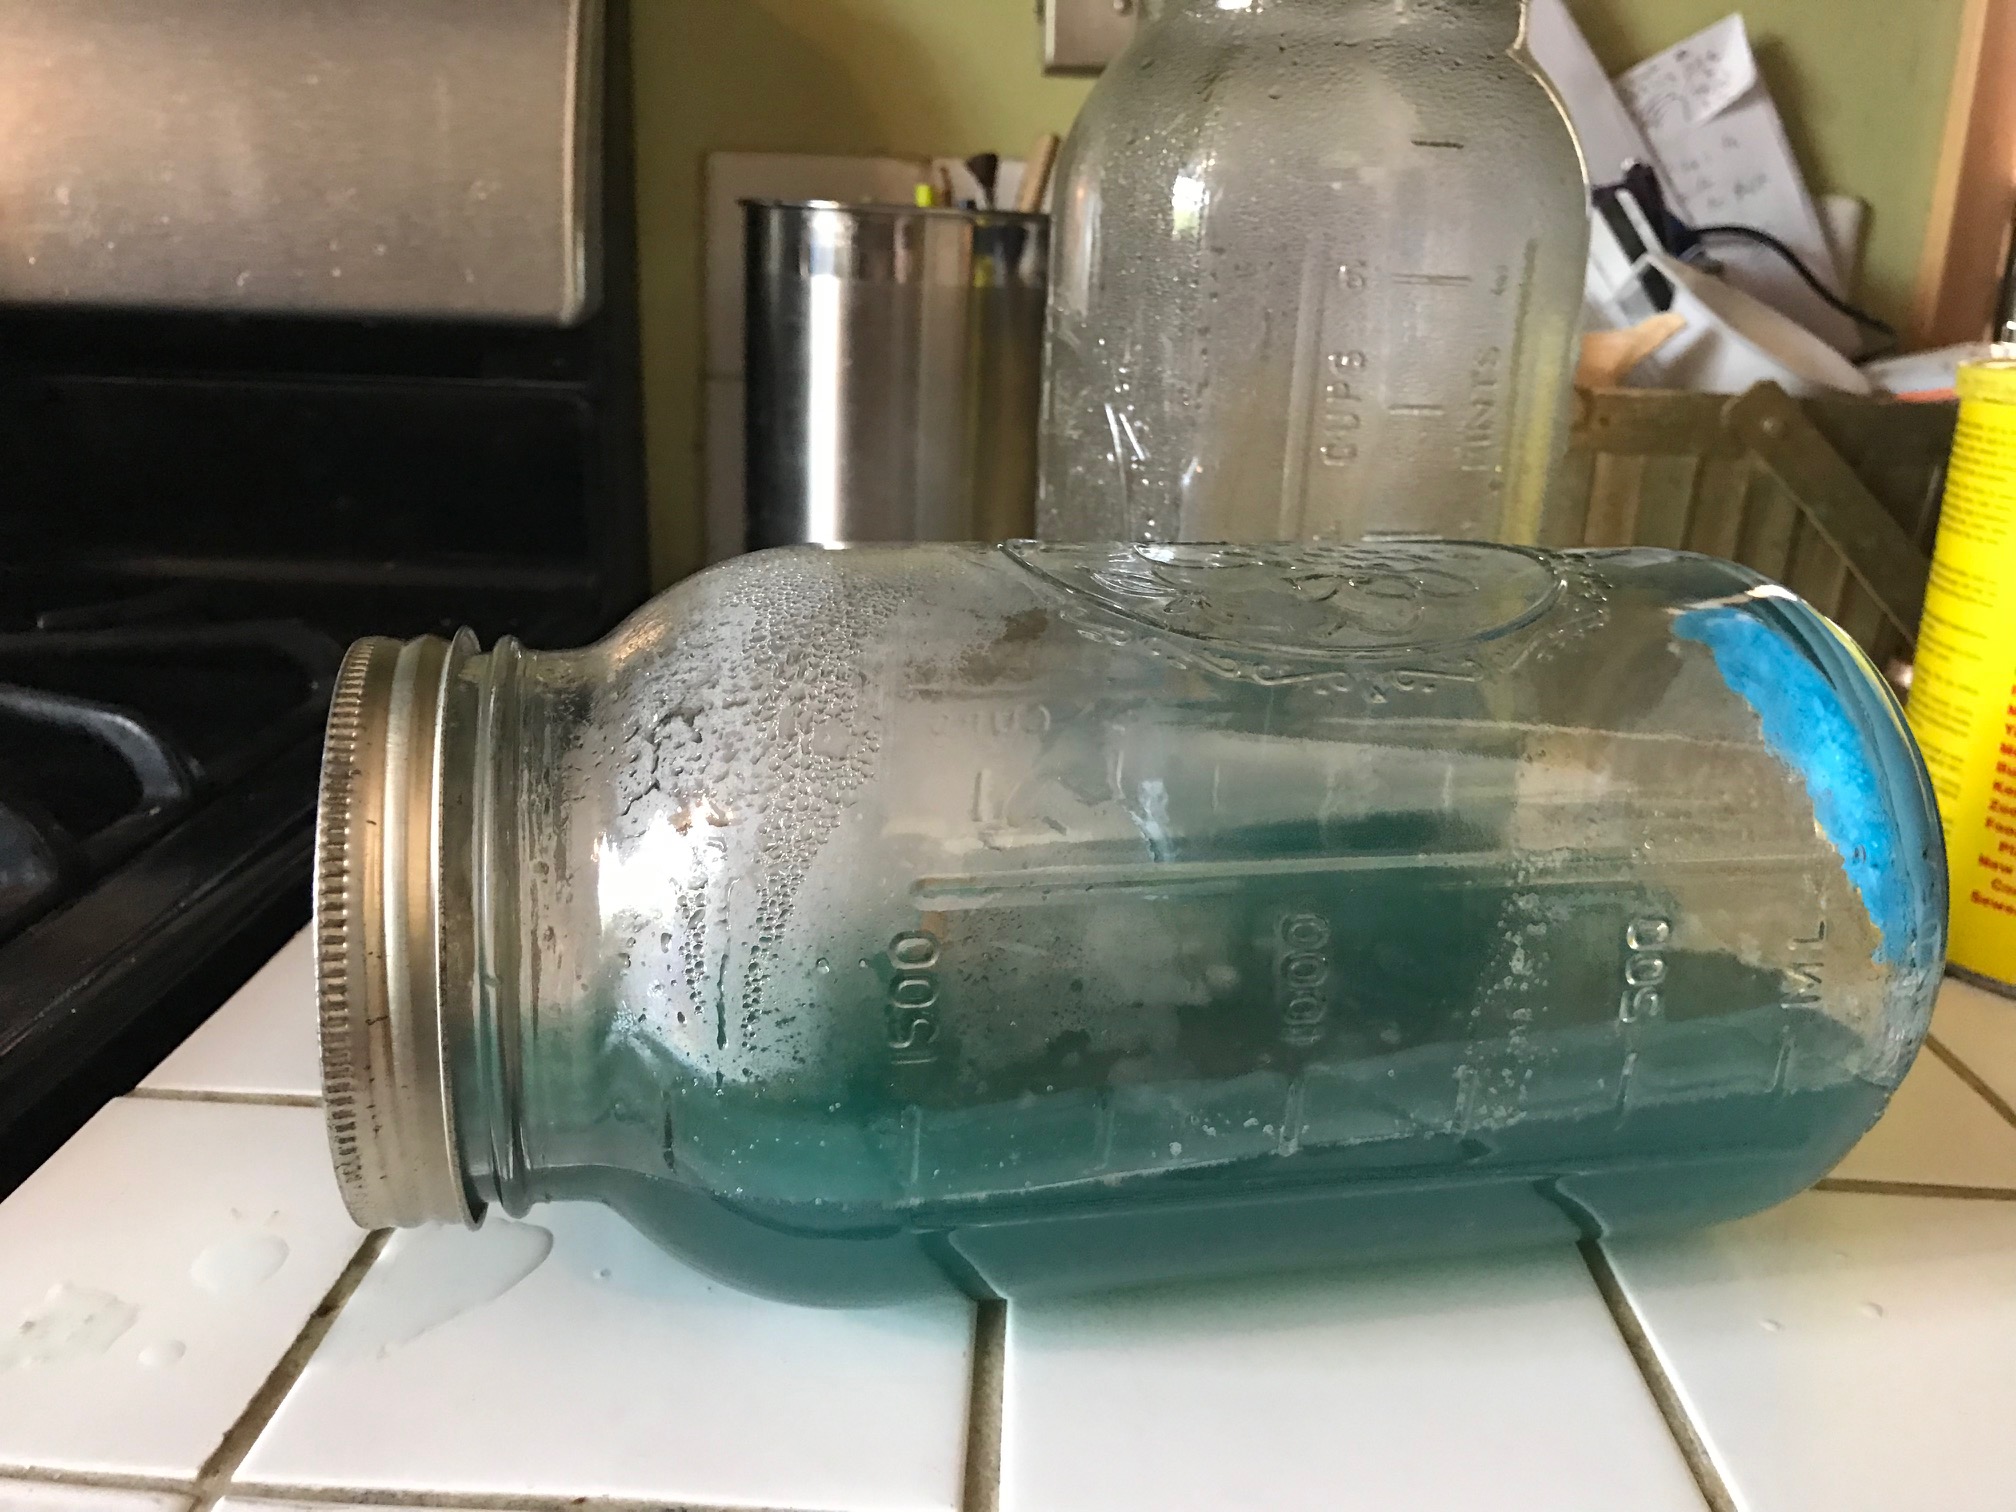
Step 14: With the side of the lid WITHOUT HOLES down towards the counter, lay the jar on it’s side. The jar below has too much liquid. The liquid should not go up into the neck of the jar, you should be able to turn the jar on its side with the HOLES DOWN without any spilling. So if your liquid goes into the neck, pour a little bit out until it doesn’t.
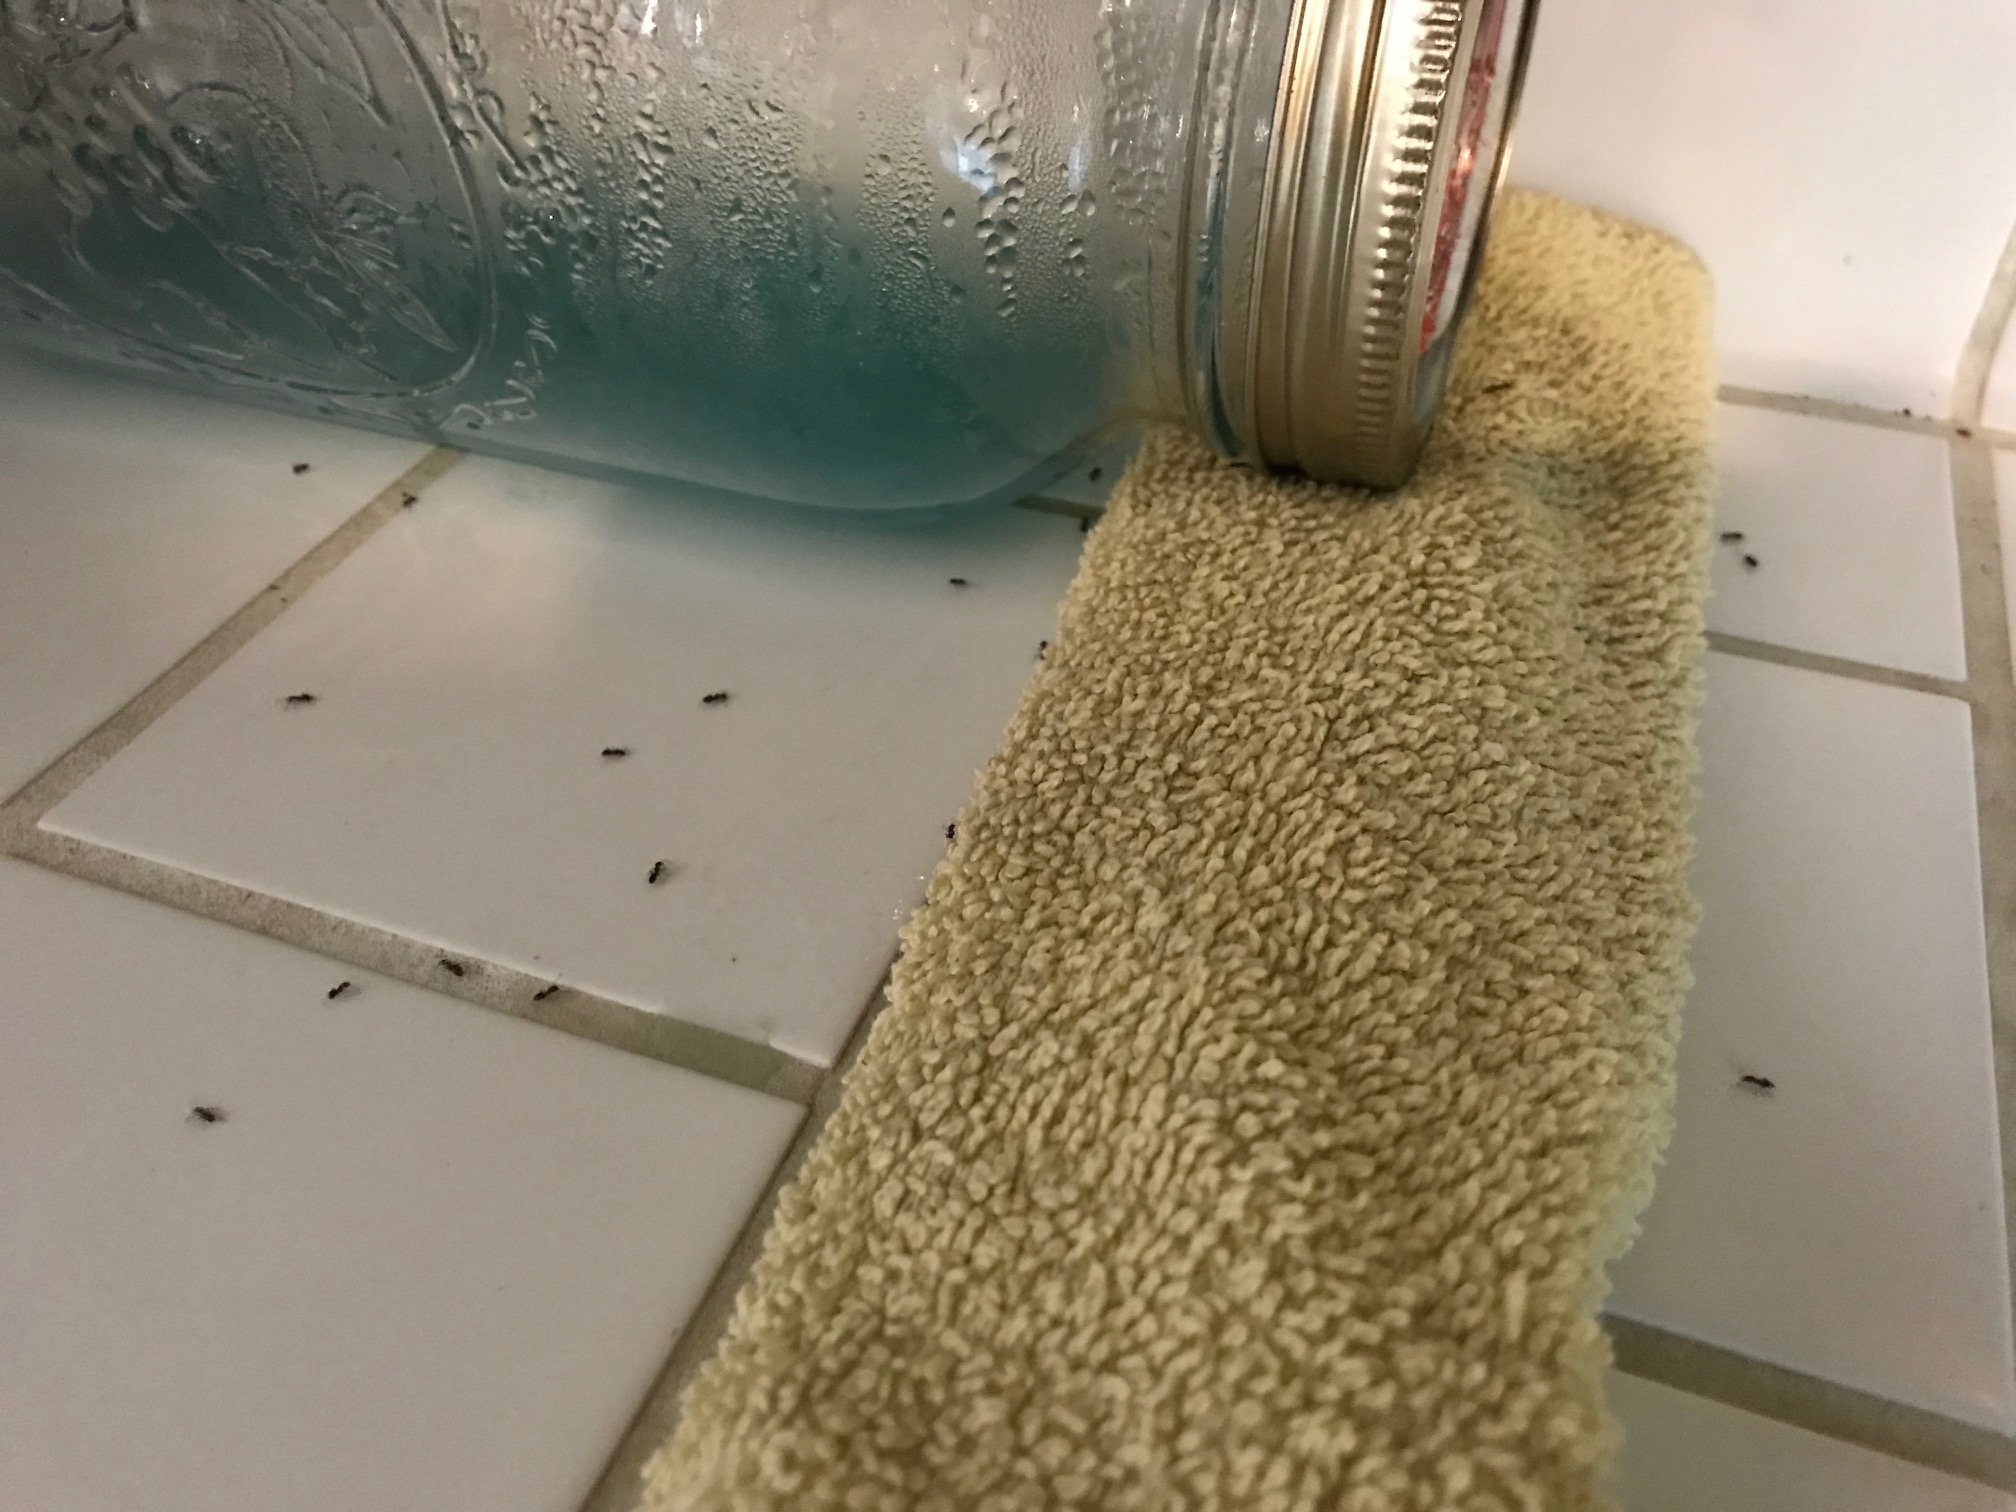
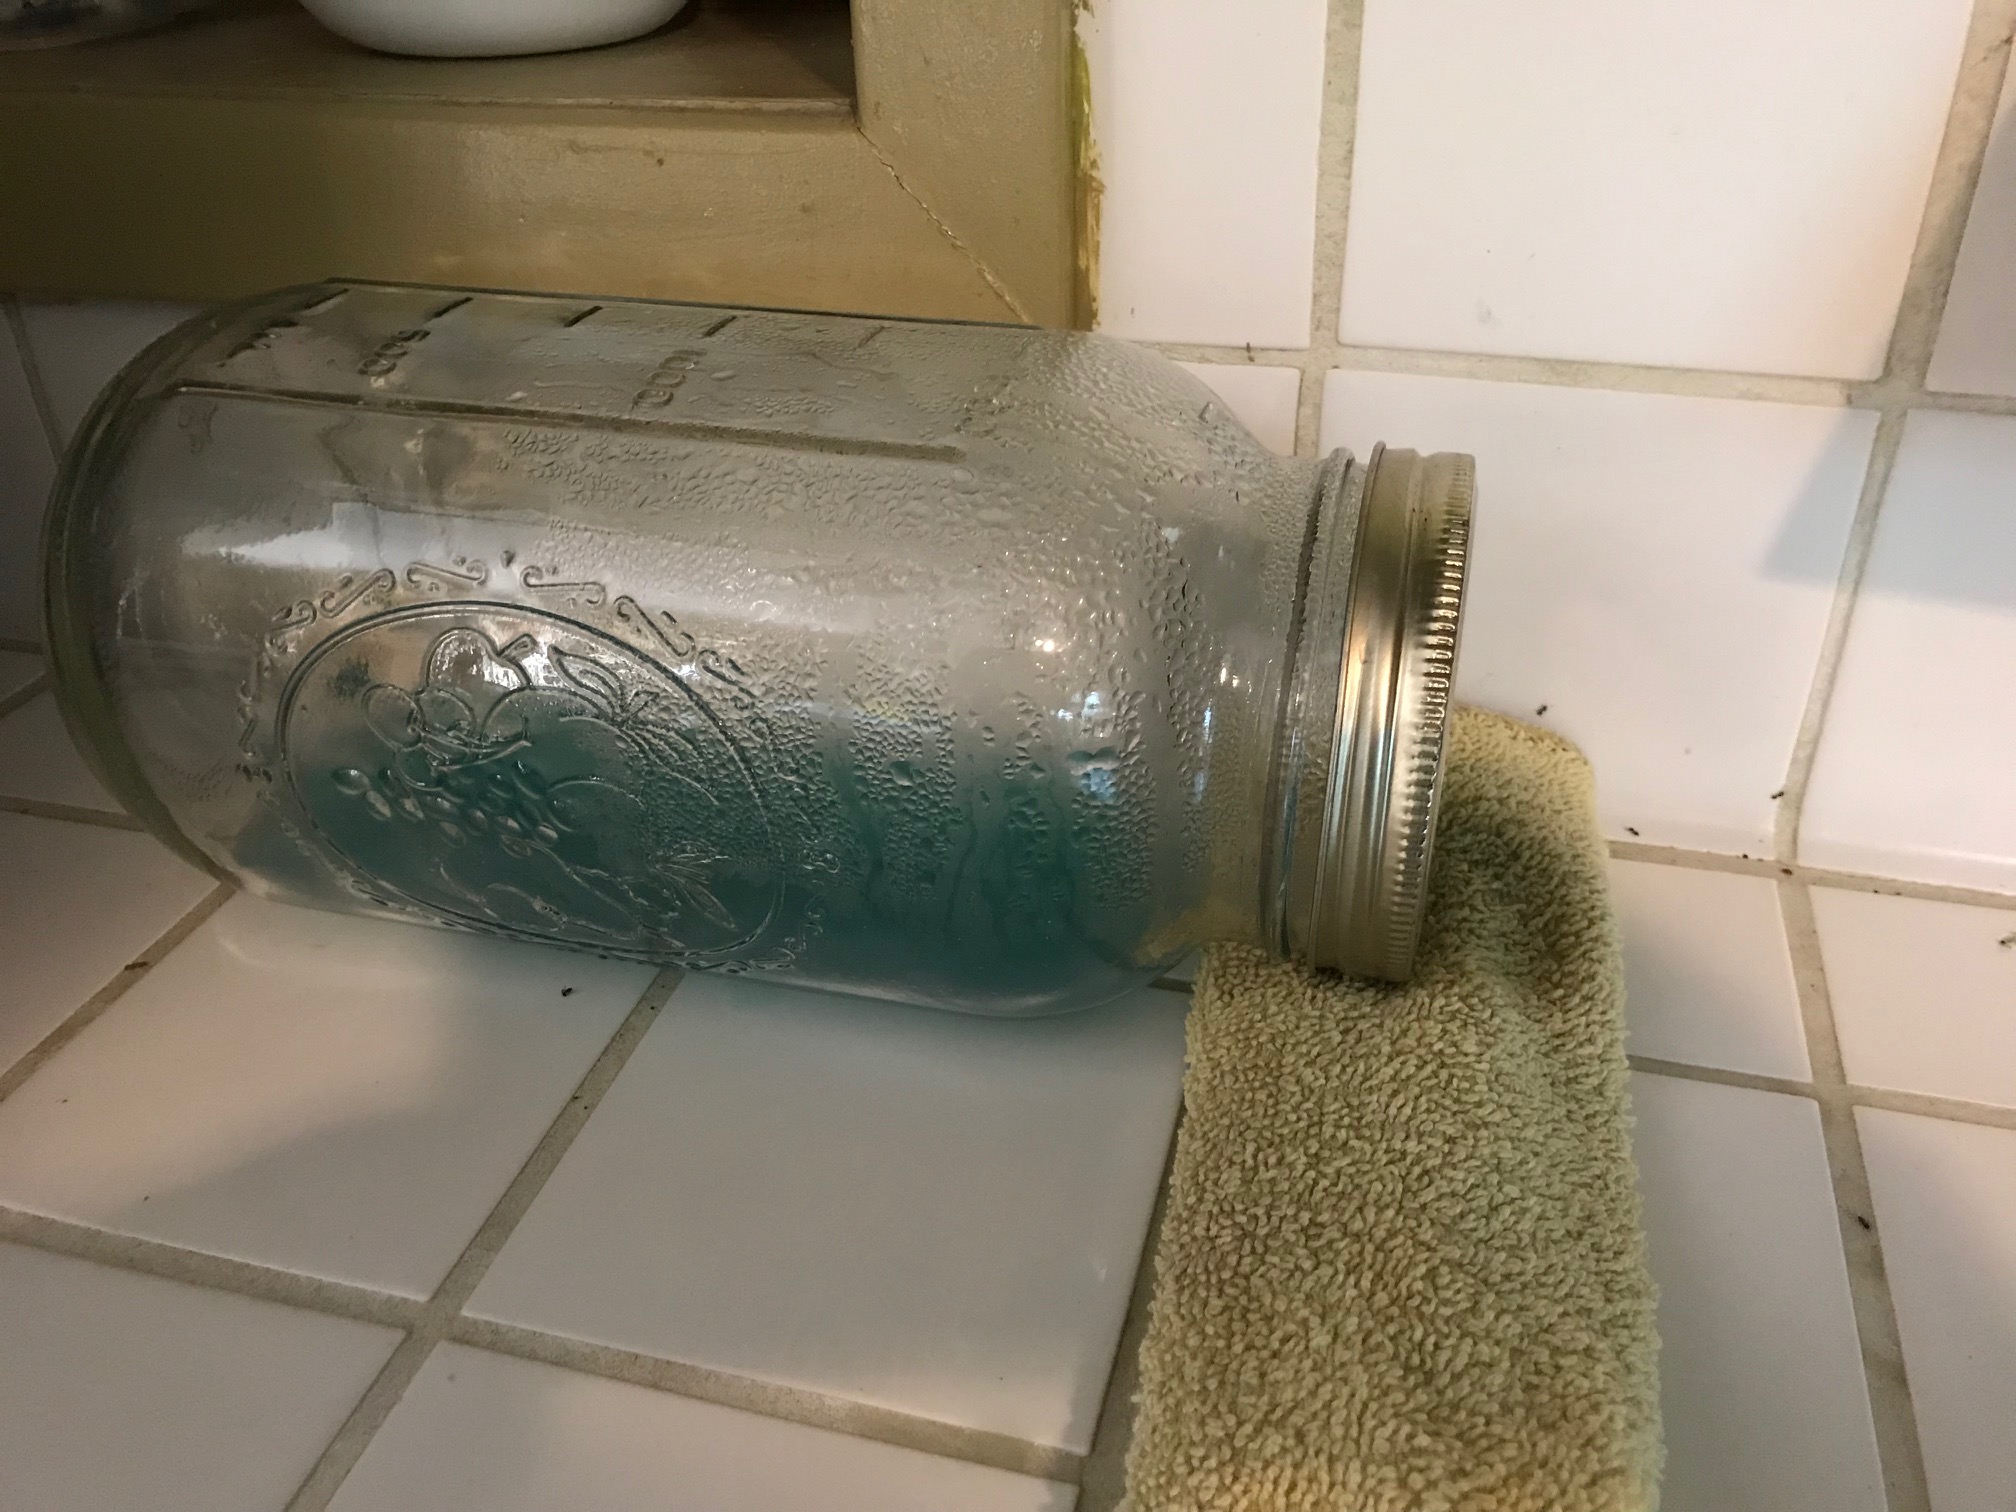
Step 15: Put the jar on its side with the HOLE SIDE OF THE LID down (towards the floor or counter) you want the ants to be able to access it easily. I decided to put a little wash cloth under mine to give the ants a step up!
Step 16: And wait! Here come the ants to the feast! (See photo below). They love honey. Yum Yum!
NOTE: Put ONE jar inside the house where you are seeing ants (usually in the kitchen) and put the OTHER jar OUTSIDE the house on the exterior wall nearest where you saw the ants inside. (Usually on the ground under the kitchen window.) The ants eat their yummy honey borax lunch and bring it back to their nest to feed their friends and then “very bad things happen to their bodies” when they are in the nest (my editor wants to spare those of particularly sensitive/sentimental temperament the specific details!)
In my experience, the ants are usually gone in a few days (two or three), but I like to leave the outside jar in place until all of the food source is eaten. It can stay there for a year or more if you like. And the “‘inside’ jar” can be moved to a less conspicuous place after the deed is done (like under the bathroom or kitchen sink, as a preventative measure.)
As always, please let me know if you have any questions!
Tamara Rubin
#LeadSafeMama
Here’s an “ingredients” list too (ingredients/supplies) with my Amazon affiliate links to the products I use for this. If you purchase something after clicking on one of the links on this site I may receive a small percentage of what you spend at no extra cost to you! Thank you for supporting my work in this way:
Ingredients/Supplies
- Stove (just linking this for fun, I want one!)
- Saucepan
- Serving Spoon
- Honey (I use my family farm’s honey!)
- Boric Acid (Roach Prufe in this case!)
- Measuring Cups
- Ball Jar Lids
- Ball Jars
- Screwdriver for making holes in the lids (other methods work too!)
Never Miss an Important Article Again!
Join our Email List



Is the stuff inside the jar solid or liquid at the end of this process?
Hi Sheryl! It should be liquid – although it turns in to a bit of a gel over time & works better if it is more liquid.
Tamara
Thank you for this! Great detailed post. ❤️
How can it be made in smaller quantity? What is the ratio? Many thanks