My “magic” solution: fabric paint…
“What to do if your paint is chipping and you cannot afford to hire a painter right away…”
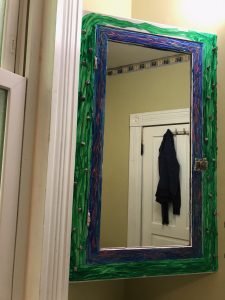
This is my bathroom mirror (click on any of the images to see them full size).
One of the hats I wear in my life is that I am a visual artist (painter, designer, costume designer, filmmaker). I randomly paint stuff in my house with vibrant colors… (especially fabric items — but also walls!) so I understand your vision of a “normal” bathroom mirror MAY not look like mine.
The reason my bathroom mirror looks like this is because, 10+ years ago, after we bought our home (April 2007), I was concerned about some chipping paint on the mirror. I wasn’t sure if the inspector had tested this mirror, and we had already moved in to the house (I hadn’t remembered to check on a few small things like this.). I did not think is was lead paint (it didn’t look to my trained I to be; and it looked like it was from the period of a previous owner’s extensive remodel – in the ’80s), but I was not 100% sure, so I decided to do something about it just in case.
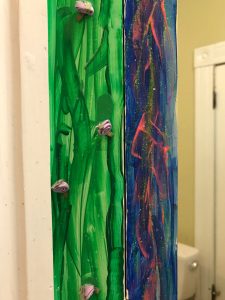 I chose to use a “trick” I had come up with to contain any minor paint chipping (regardless of whether or not they were suspected lead paint chips.) The “trick” was to use fabric paint to cover and contain the chips/ chipped area.
This is a simple solution/ tip I have shared with countless families over the years but never got around to writing a blog post about! So here you go!

When I initially came up with the idea I was so excited that it presented an easy and simple solution to families that I even looked into getting a patent for a similar product (with a slightly different chemical formula) and calling it “PaintAid” (like “BandAid”) and putting it in a package with a green plus on the front (like an environmental version of the Red Cross)… but over the years the green plus sign has been taken over by another industry 😉 … so I may have to re-think that one! [If anyone wants to help me create this product, please let me know – it is still an idea I want to pursue & I know I have a market for it!]
 Here’s why I use fabric paint to cover paint chips:
- It is non-toxic.
- It is easy to find (most fabric stores and other stores like Target and Walmart have it too).
- It is tolerant to heat (clothes that are painted with it can be dried in the dryer).
- It is moisture resistant and even repellant (clothes that are painted with it can be washed in the washing machine.)
- It can expand and contract with heat and cold (from weather impacts on a house) – I even tested it on an outside window frame for a while, plus I have coated the inside of my shower with it… but that’s another photo essay!
- It is long-lasting… this coating has now been on my mirror and other window frames (and on my shower walls) in my home for more than ten years.
- It can be easily washed/ wiped down with a damp sponge.
- It can be easily removed with regular paint remover solvents if necessary (like because the buyer of your house doesn’t want green and blue finger-painted frames with sparkles on them.)
- Mom (or dad) can keep a tiny tube (one ounce or three ounce) handy in the kitchen (or wherever) at all times, and any time a paint chip is noticed it can be easily and quickly applied as a “BandAid” to cover the chipping area.
- It is cheap – usually between 99 cents and $5 a bottle (at the most $5) depending on the color, texture and brand you get (and how awesome the sparkles are.)
- It comes in 1,000,000 colors – seemingly literally when you group all the different brands together.
- It also comes with SPARKLES (very important point!)
- Because it comes in so many colors you have the option of trying to match the paint of the area you are covering (like varying shades of white or brown.)
- Because it comes in varying colors you can instead create works of art to color and cover the paint chips if you are so inclined.
- It is also sticky – so if you decide you want to embed tiny purple silk or satin flowers from your bridal veil [that were sitting around in a box of art supplies for a couple of decades and you had nothing better to do with them] you can do that sort of thing – see photo.
- It is non-toxic (yes, I know I already said that!)
Below I am linking some of the fabric paints (and other products) I have used with my Amazon Affiliate links, should you choose to purchase some in a way that will also benefit my advocacy work (when you click on one of these links I get a small percentage of your purchase total at no additional cost to you!)
How to work with fabric paint to cover paint chips (or other suspected chipping crumbling substances that may have lead – like tile grout)… note: you can also use caulk for this sort of thing, but caulk tends to have more toxic ingredients.
- Wipe the area that is chipping gently with Clorox or Lysol wipes or similar product (not baby wipes.). NOTE: if this creates more crumbles – stop wiping. Some surfaces will keep crumbling with wipes no matter how many times you wipe them and they therefore might not be a good candidate for this solution.
- Wait for the area to dry thoroughly (overnight or at least a couple of hours?)
- Put a little dab of the fabric paint on the chipped area.
- Using gloves (or not) spread it gently with your finger tip to make sure it covers the chipped area. Using your finger tip helps make sure the entire chipped area is covered evenly.
- Let that “cure” or dry overnight.
- Repeat steps 4 or 5 until you feel the area is filled in sufficiently.
- FYI: Other people use tape for this sort of thing, however I don’t recommend tape because it can create more chips when it is removed (intentionally or accidentally)… and the fabric paint is less likely than tape to be peeled off once it has cured.
THIS SOLUTION IS ESPECIALLY USEFUL FOR TINY CHIPPED AREAS AROUND TRIM – including BASEBOARDS, DOORWAYS AND WINDOWS! When you fill those chipped areas in with fabric paint they will also be more resistant to future chipping from impacts because the coating is rubberized to some degree.
NOTE: This is a BANDAID solution – a “temporary” solution until you can afford to have the area remediated using professional lead hazard remediation techniques. Testing for lead first using a LeadCheck swab is always a good first step. I wouldn’t use this on very deep holes necessarily or on whole walls, although once I got started doing this I decided to use it on every single chipped painted area in my house and I decided to make every chip a purple flower and then connected the flowers with a green vine… so now there are flowers and vines all over my walls (because I have four boys and things – or people – are ALWAYS banging into the walls!)
Here are some product ideas/ links (using my Amazon Affiliate codes):
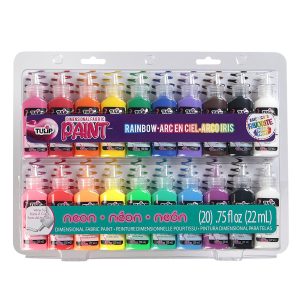
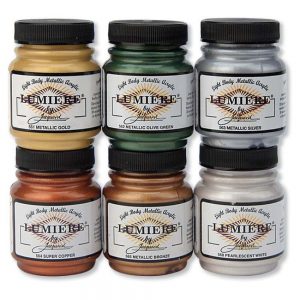
If you want colorful, creative – these are a good choice:
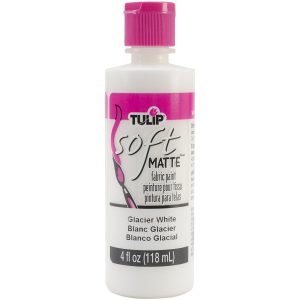
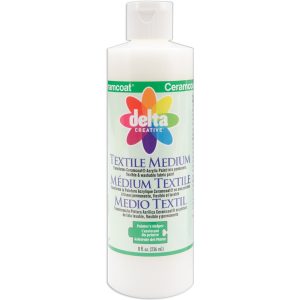
Here is a good basic white option.
Depending on how creative you want to get,
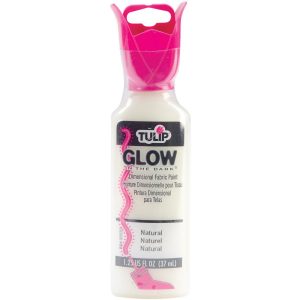
Glow in the Dark could be fun in the kids’ room!
Note: there is a new product version of these on the market that is in a spray formula. I have not tried the spray formula versions so cannot guarantee they would last in the same way, but I expect they will.
I have also used this brand with good results
(on outside surfaces, including my mural!)
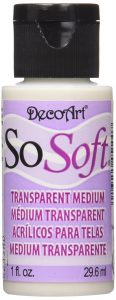
I have not yet tried this one,
but it is a transparent option for those who are interested in going that route!
As always, thank you for reading, and please let me know if you have any questions.
Tamara Elise Rubin
“Unexpected Lead Expert”
Mother of Lead Poisoned Children
#LeadSafeMama
Never Miss an Important Article Again!
Join our Email List



Thanks for this. Could I use fabric paint on door handles or knobs that test positive?
Cheers
Caroline
Neat idea, Tamara. Have you tested these fabric paints for lead? Or gotten a COA? Or would you not be concerned?
I have tested them and not found any to have Lead (and so am not concerned.) Most are manufactured with standards required to be safe as art supplies intended for use by children.
Tamara
Hi Tamara, do you think something like the transparent fabric paint would work for covering the soldering/ cane on a decorative glass door? Would it work to encapsulate the lead ?
Does it need to be already made fabric paint, or can you mix acrylic paint with textile medium? Asking because I already have some acrylic paints. Not sure if that would create the same consistency, but I just know you can create a sort of fabric paint with those two things. Also not sure if that would still be non-toxic.
Hello! I just bought Tulip puff paint and it has California 65 warning on it. Is it because of lead? Thank you.
Does this work better than touching up with house paint? Is there an advantage to using the fabric paint to cover chips rather than latex house paint? Thanks!